Create a Data Bunker Account
Introduction
In this workshop, you will create a secure data bunker. A data bunker is a secure account that stores important security data in a secure location. Make sure that only members of your security team have access to this account. In this lab, you will create a new security account, create a secure S3 bucket in that account, and then enable CloudTrail so that our organization sends these logs to the bucket in the secure data account. You may also want to consider what other data you need in there, such as secure backups.

A best practice is to use AWS Control Tower to set up your Well-Architected landing zone. The steps in this lab cover what was configured for the Control Tower Log Storage Account.
Create a Logging Account from an Organization Management Account
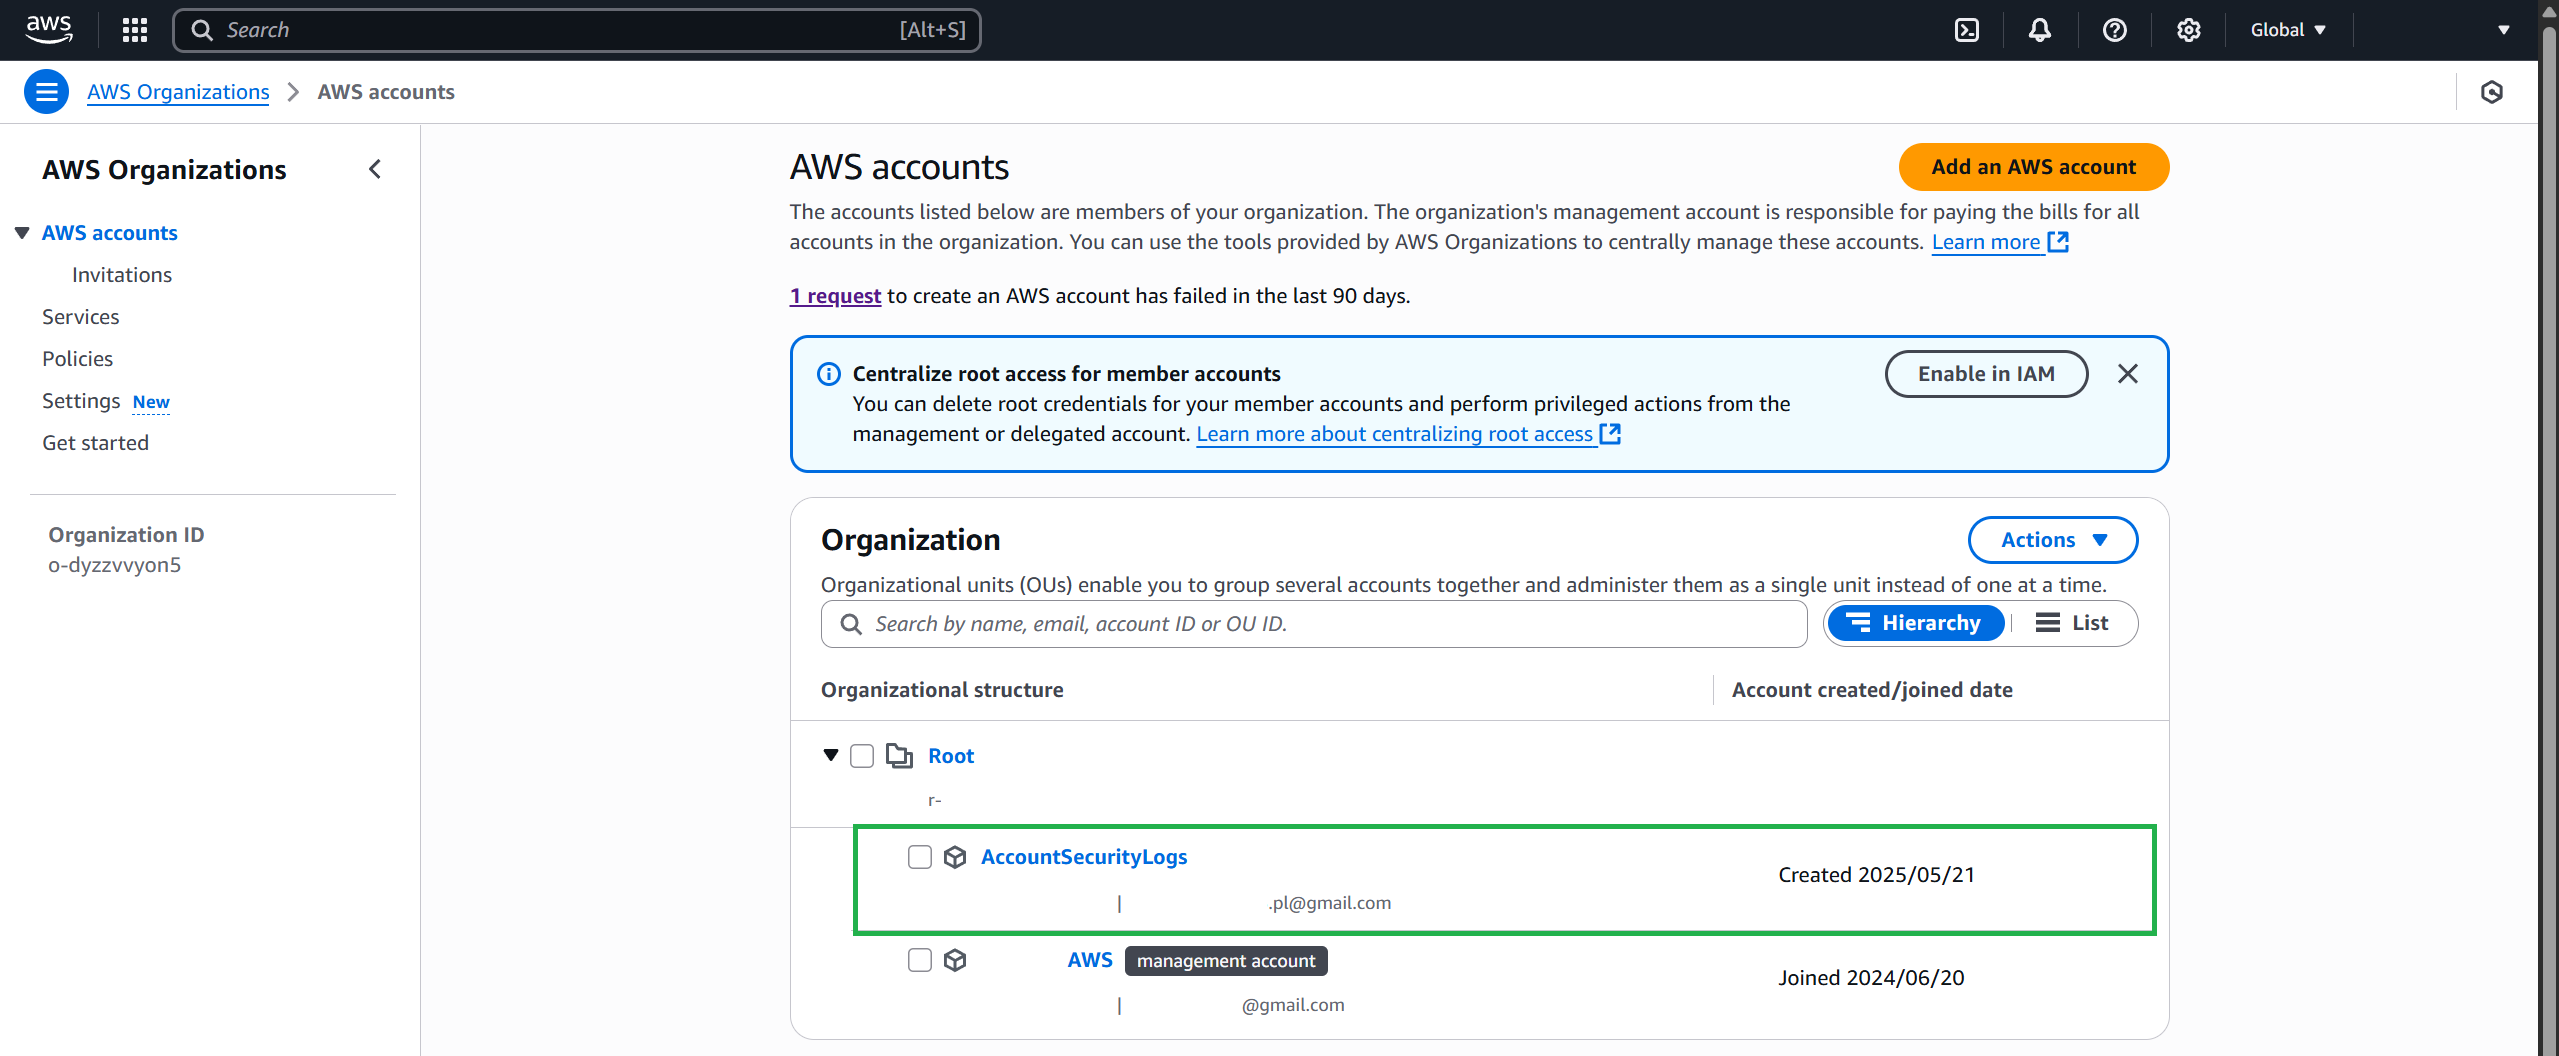
Sign in to your AWS Organizations management account.
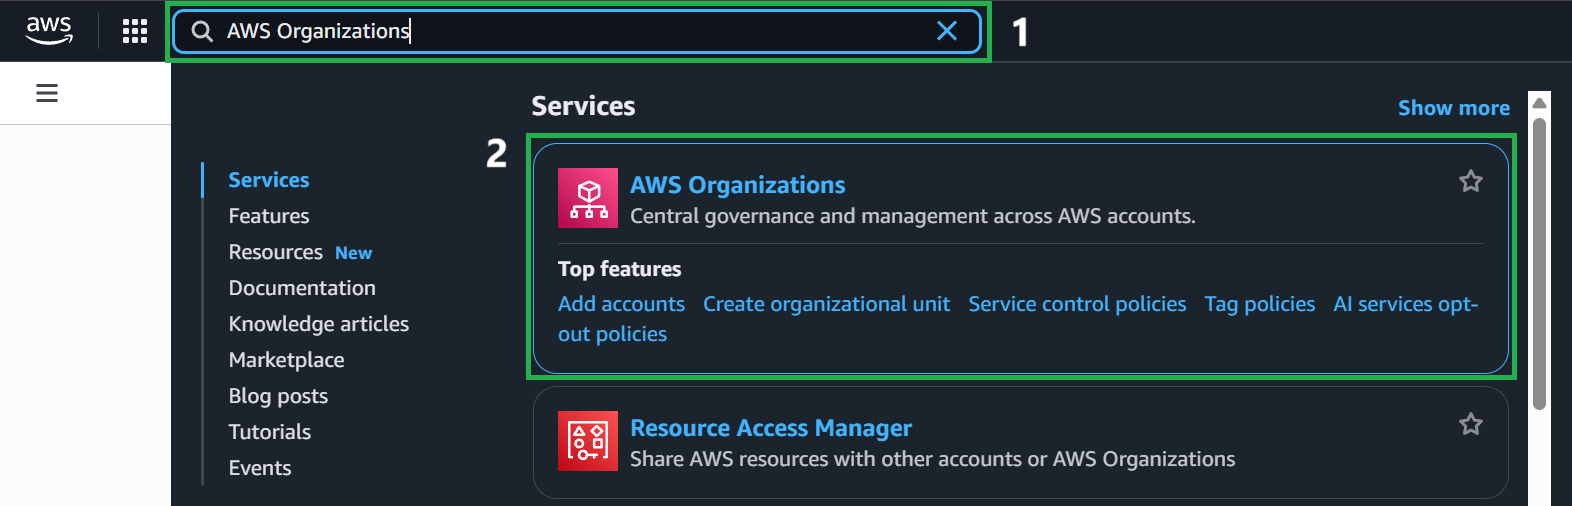
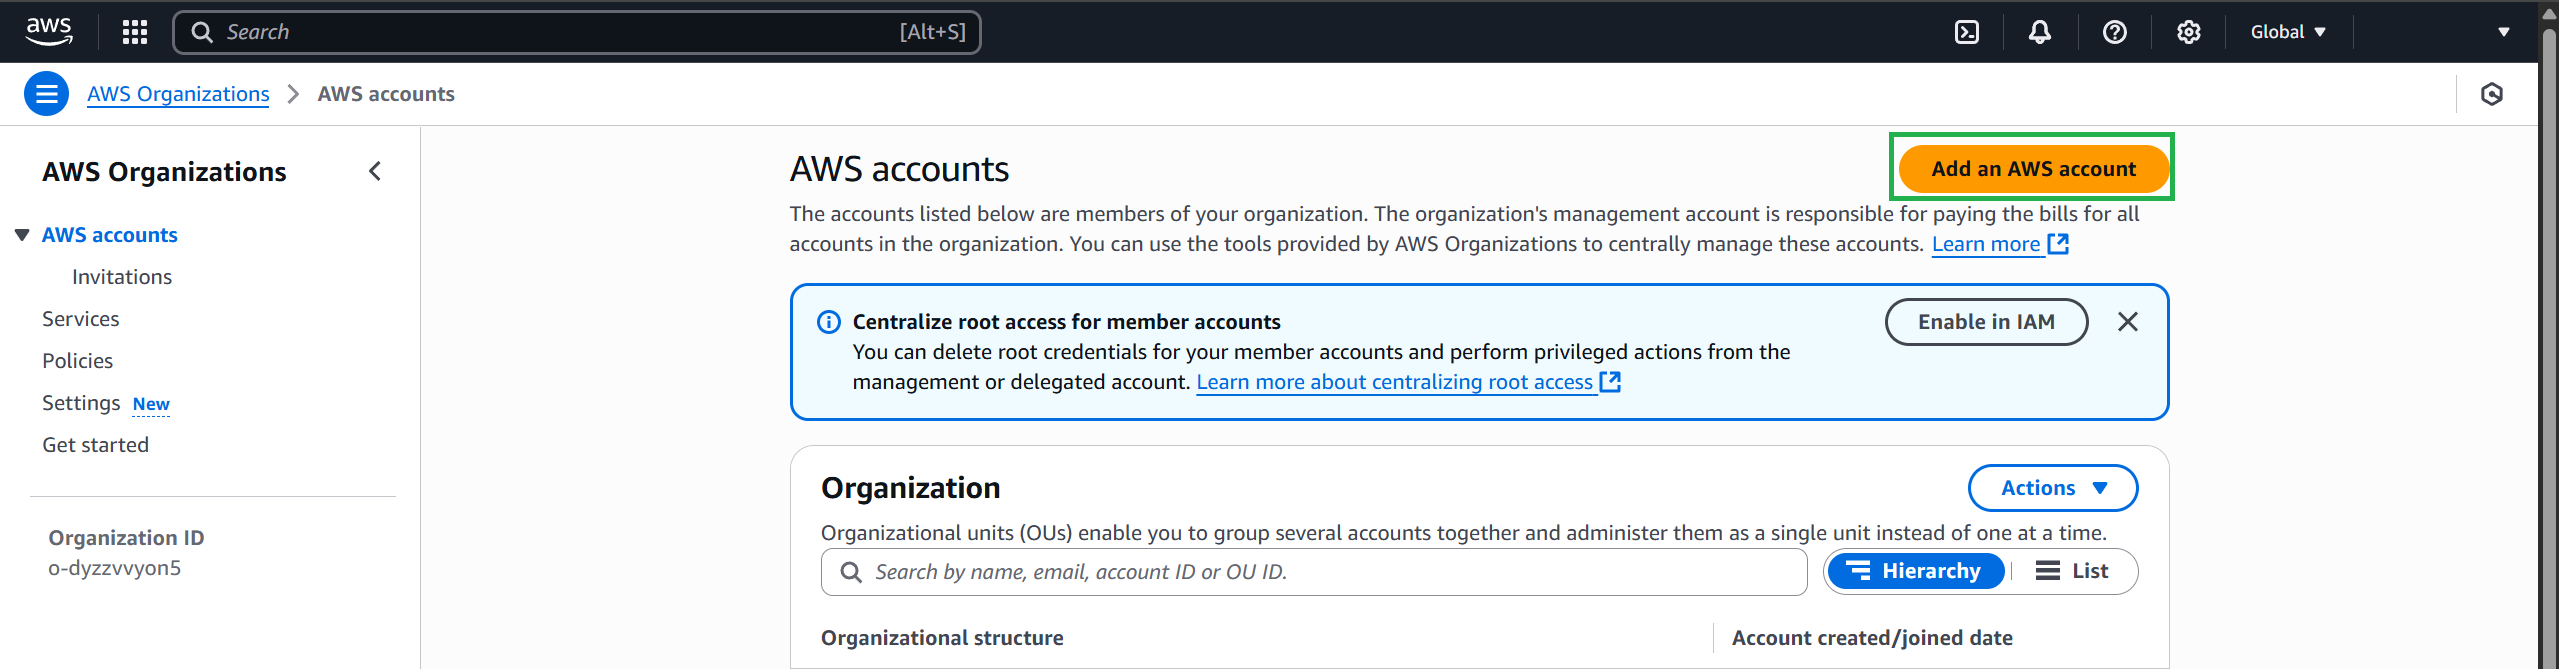
On the AWS Organizations home page, select Add An AWS Account.
Fill in the new account information
- AWS account name:
AccountSecurityLogs - Account owner email address:
example@gmail.com - IAM role name (default):
OrganizationAccountAccessRole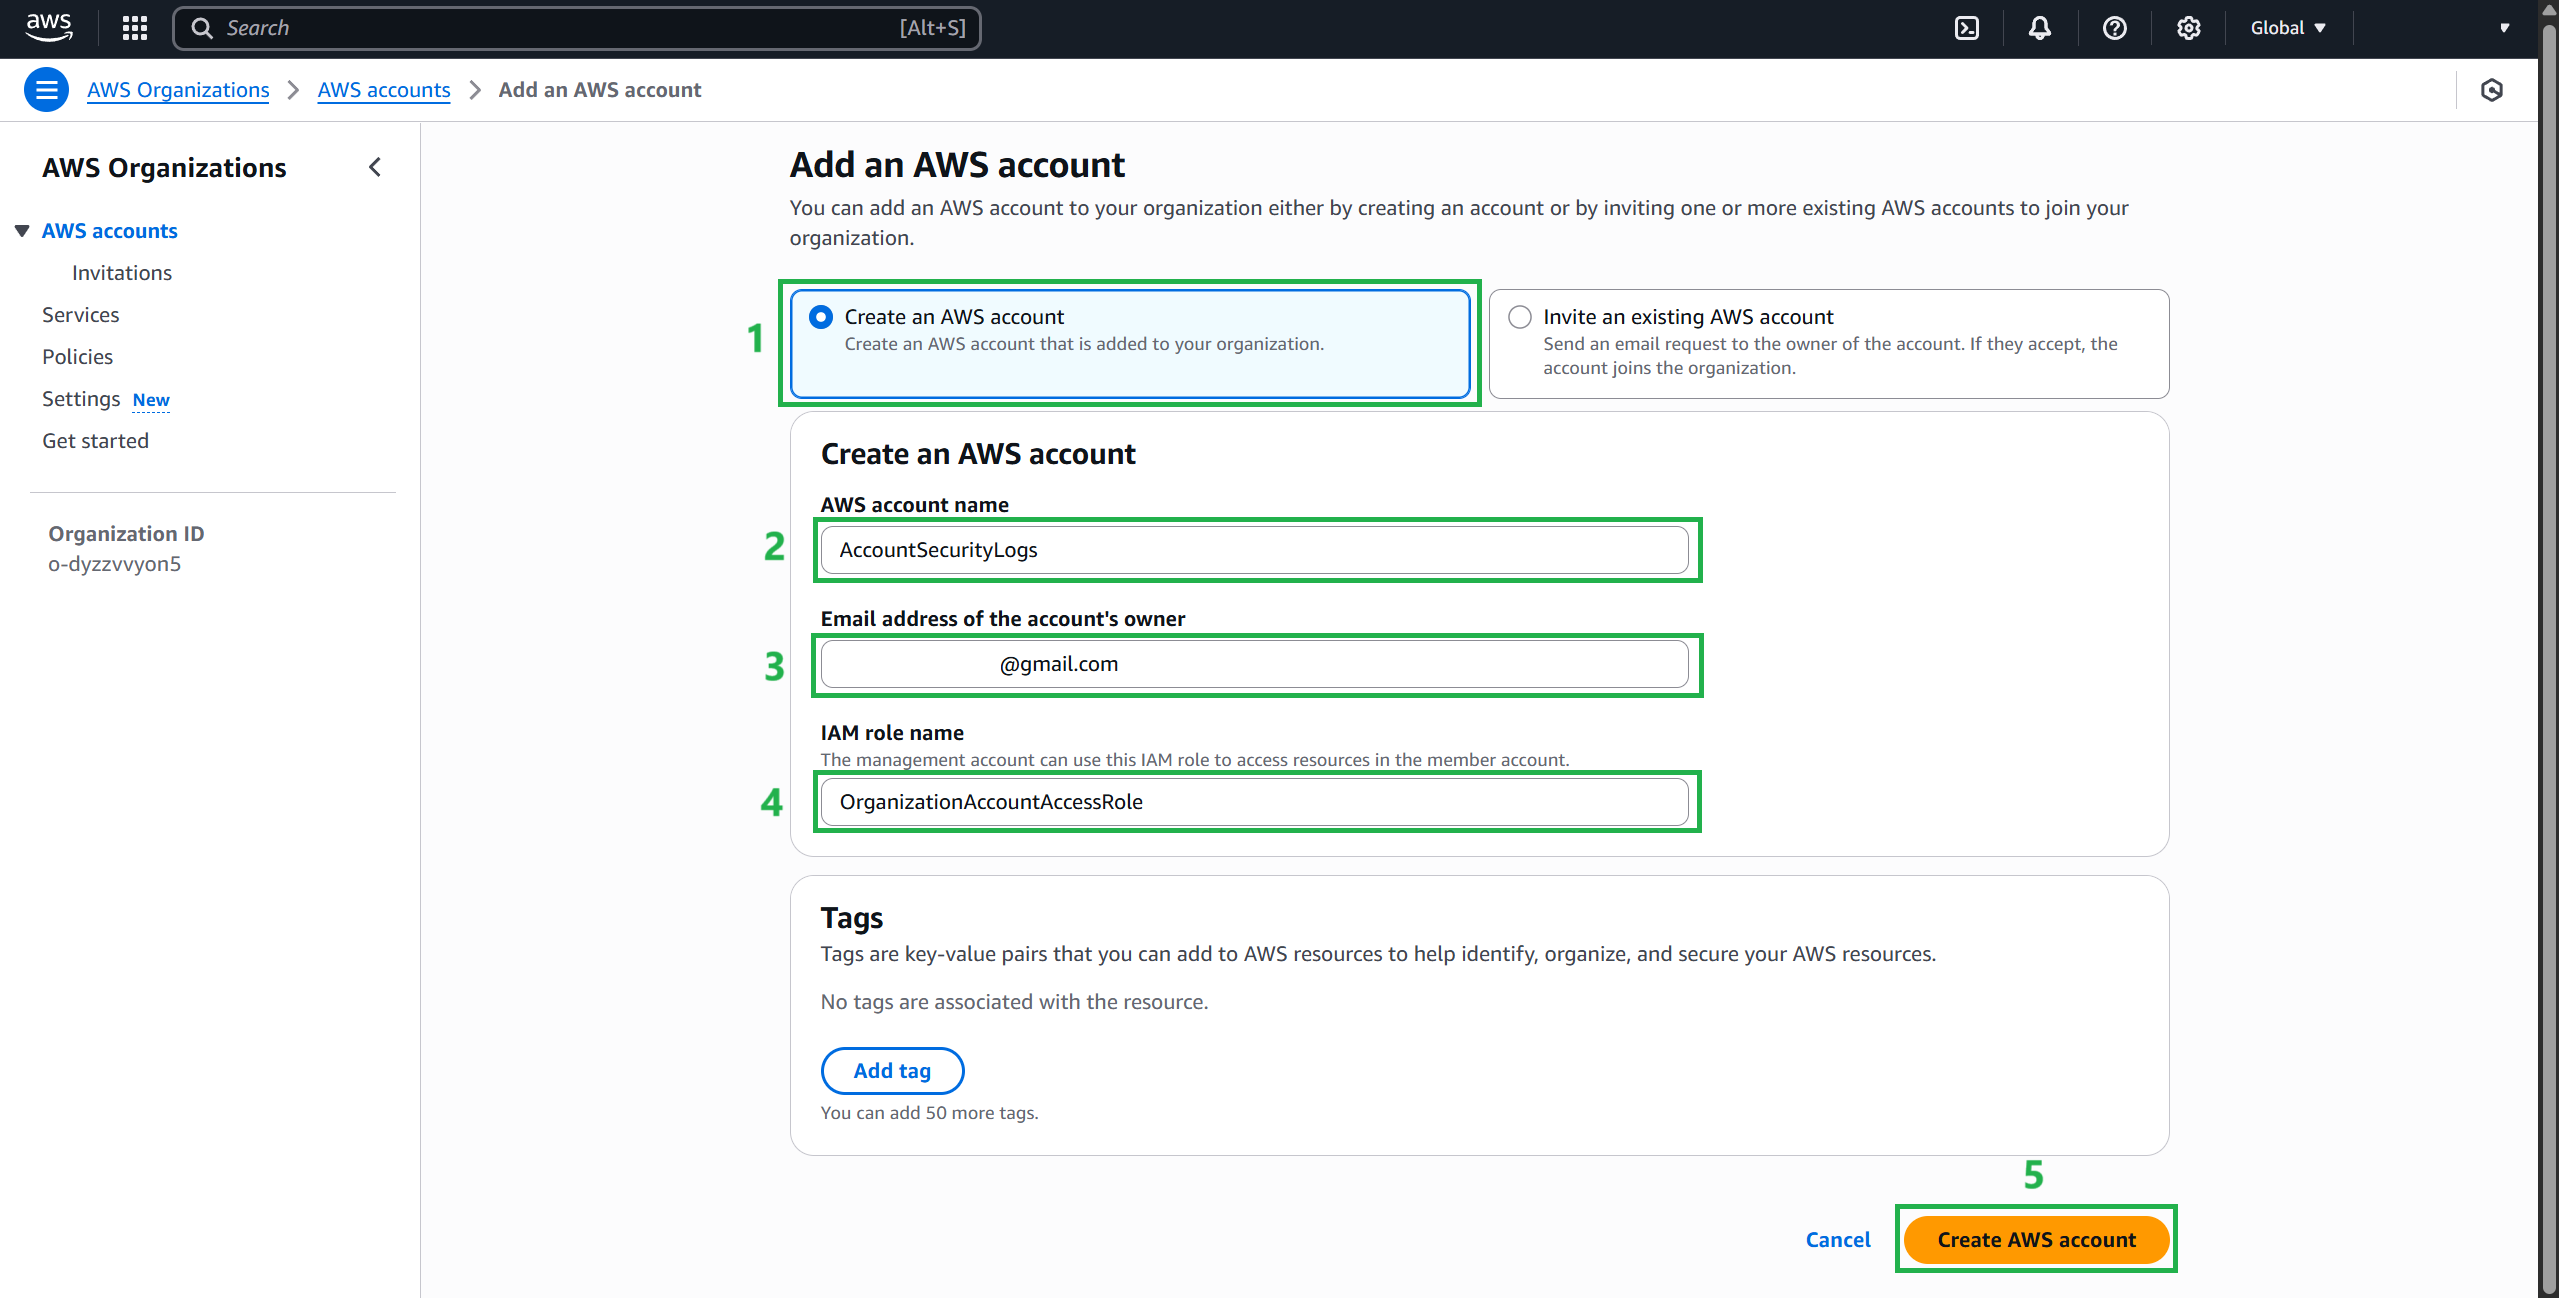
(Optional) If your role does not have permissions to assume any roles, you will also need to add an IAM policy. AWS Administrator policies have this policy by default, otherwise follow the steps in the AWS Organizations documentation to grant access to the role. Consider implementing best practices as a baseline, such as locking down your AWS account’s root user access key and using multi-factor authentication
Complete adding an account and wait for the request to be processed.
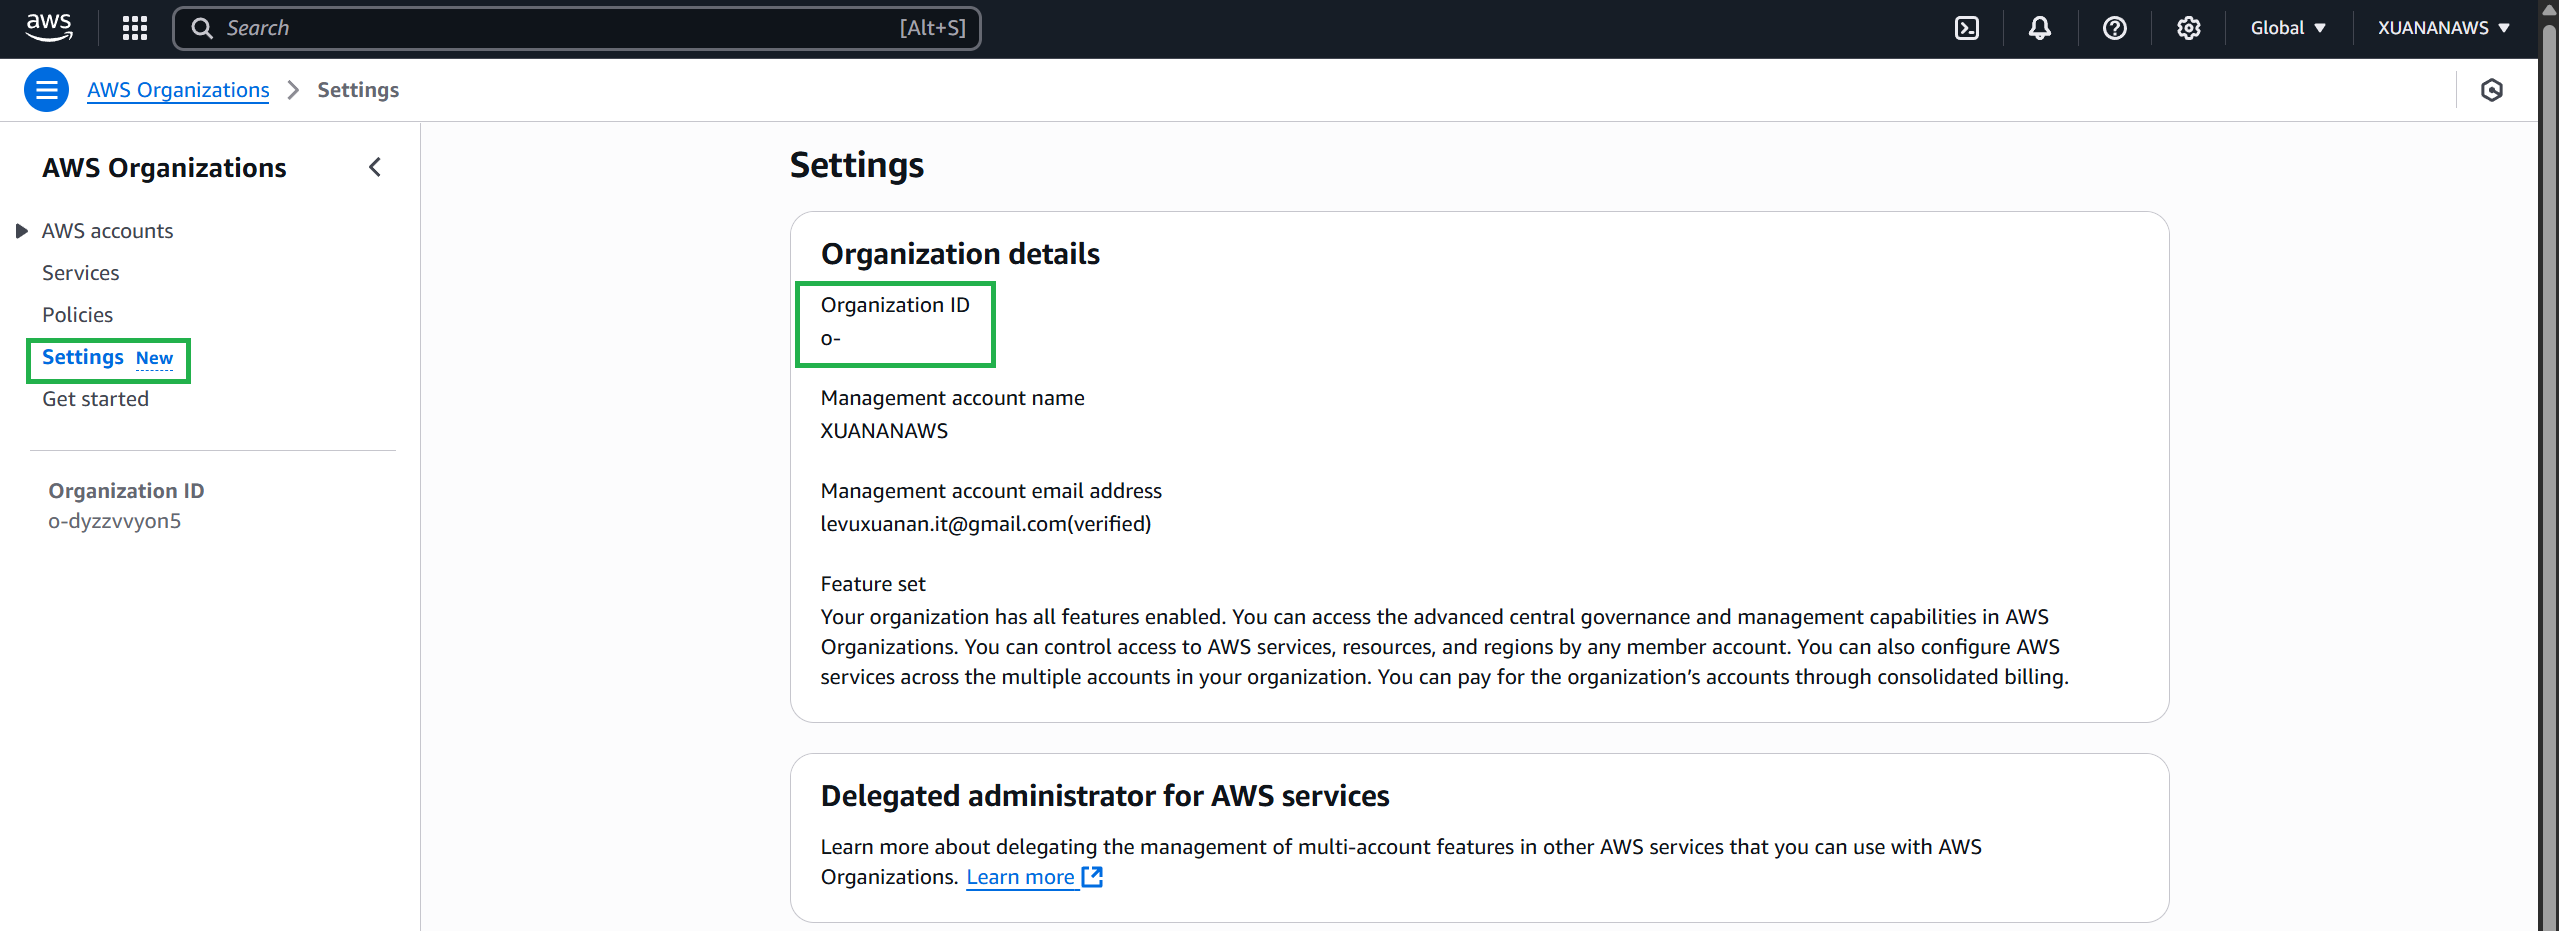
Navigate to Settings and note your Organization ID.
Create a key to encrypt CloudTrail logs
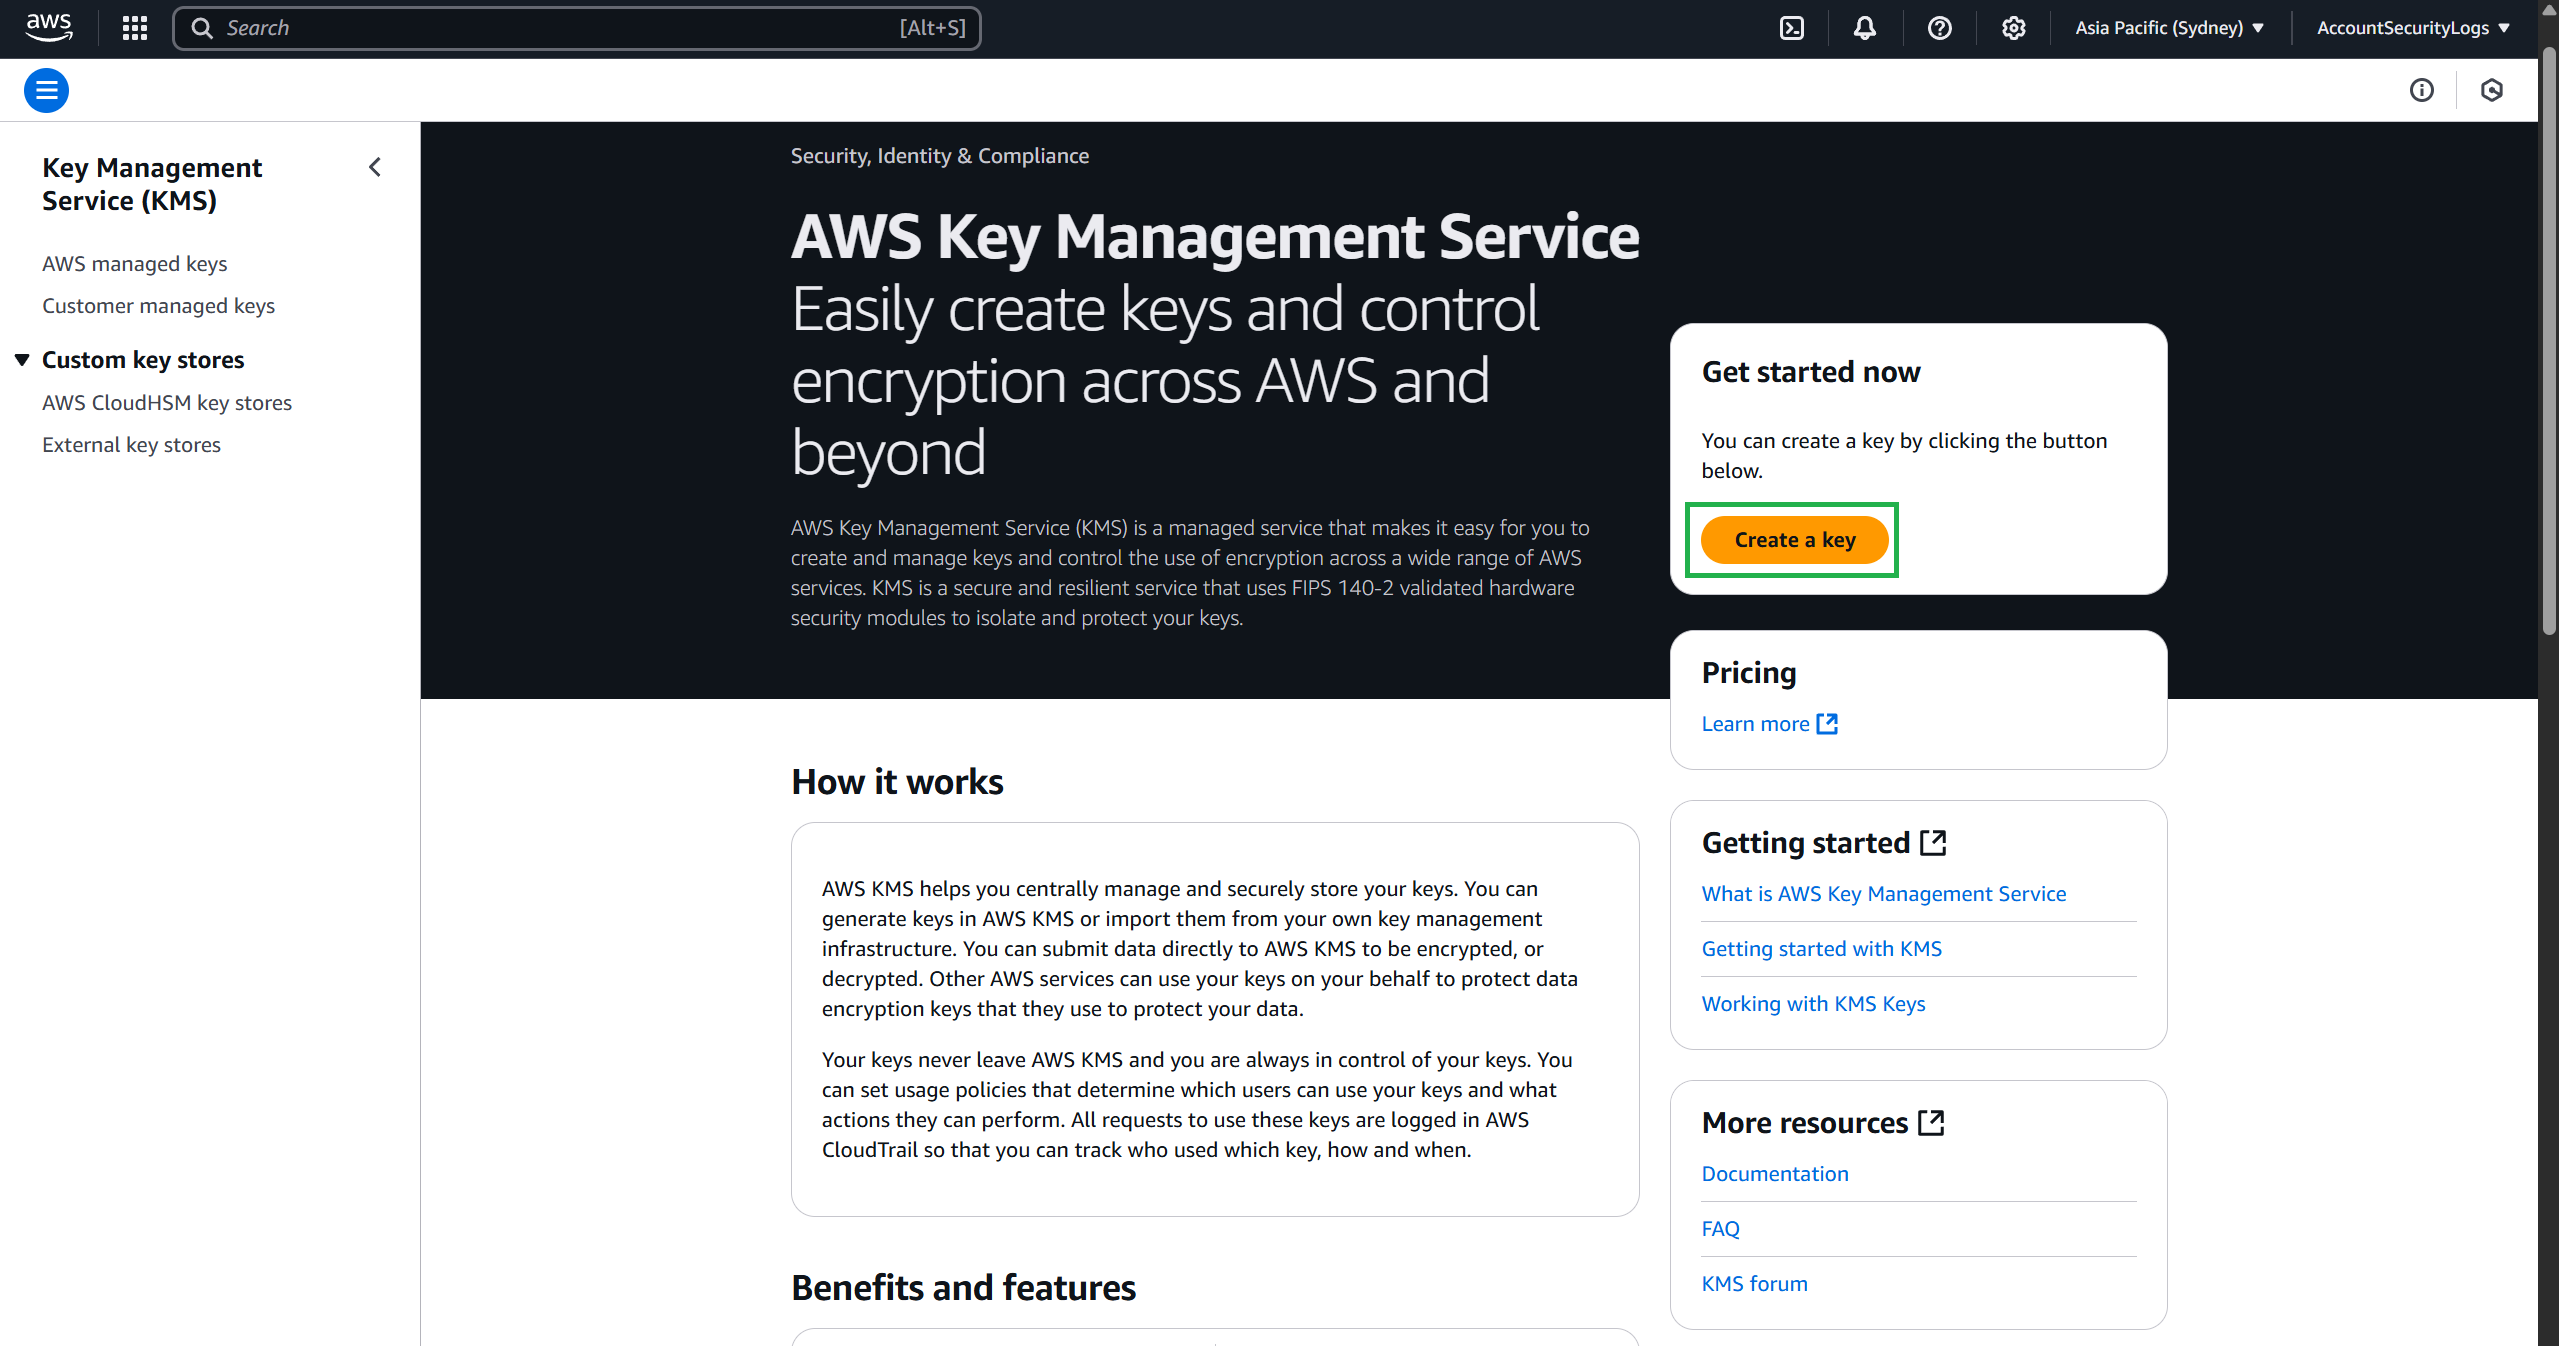
Log in to your organization’s logging account (AccountSecurityLogs).
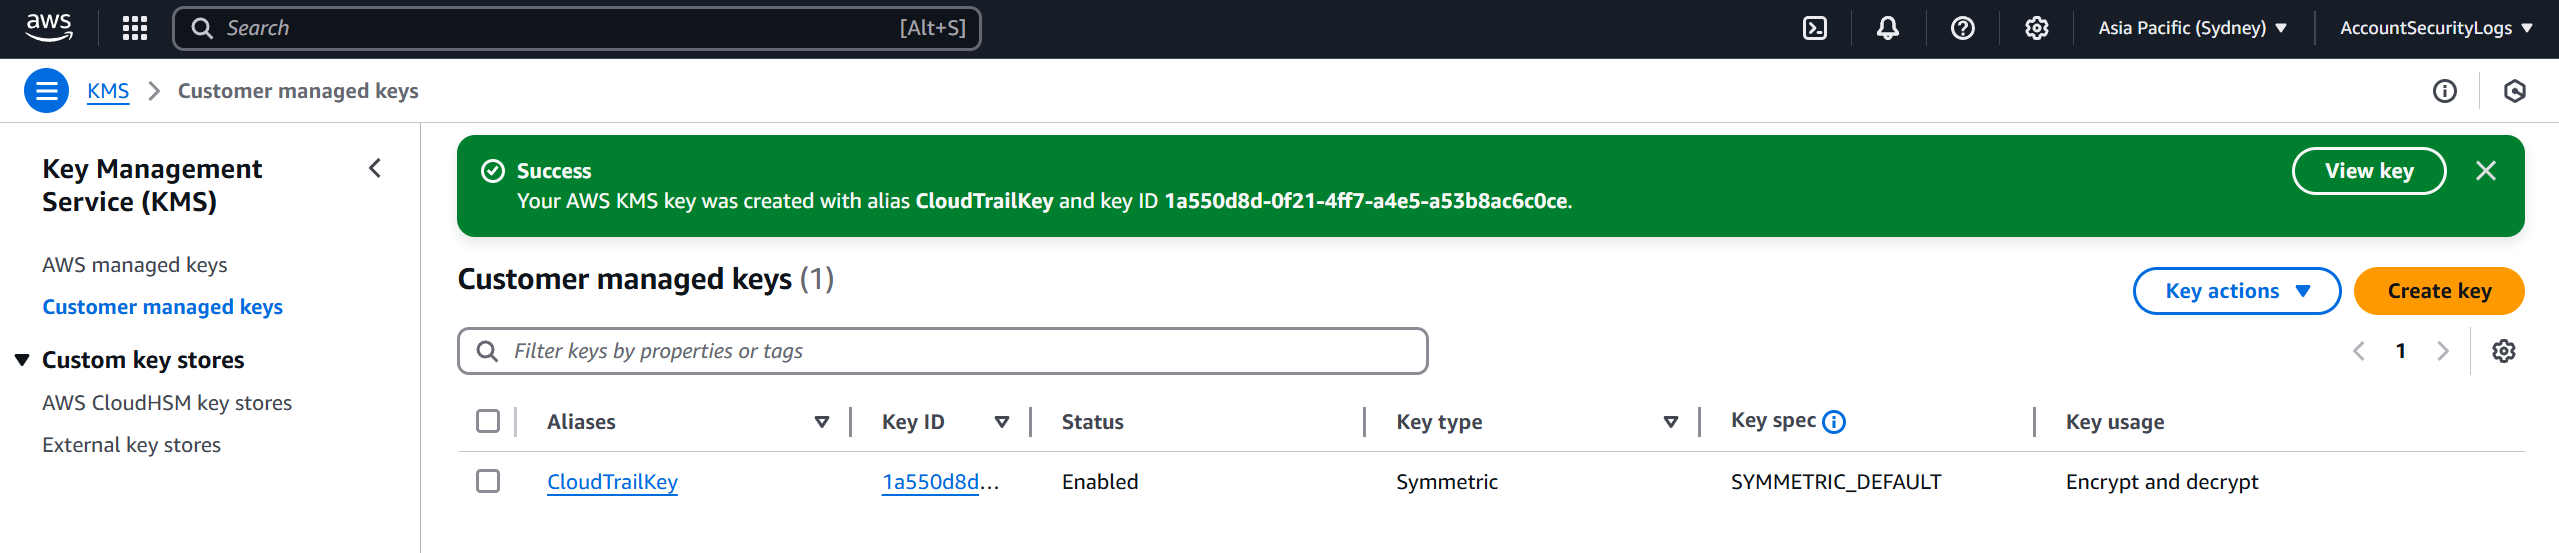
Navigate to AWS Key Management Service (KMS), select Create a key.
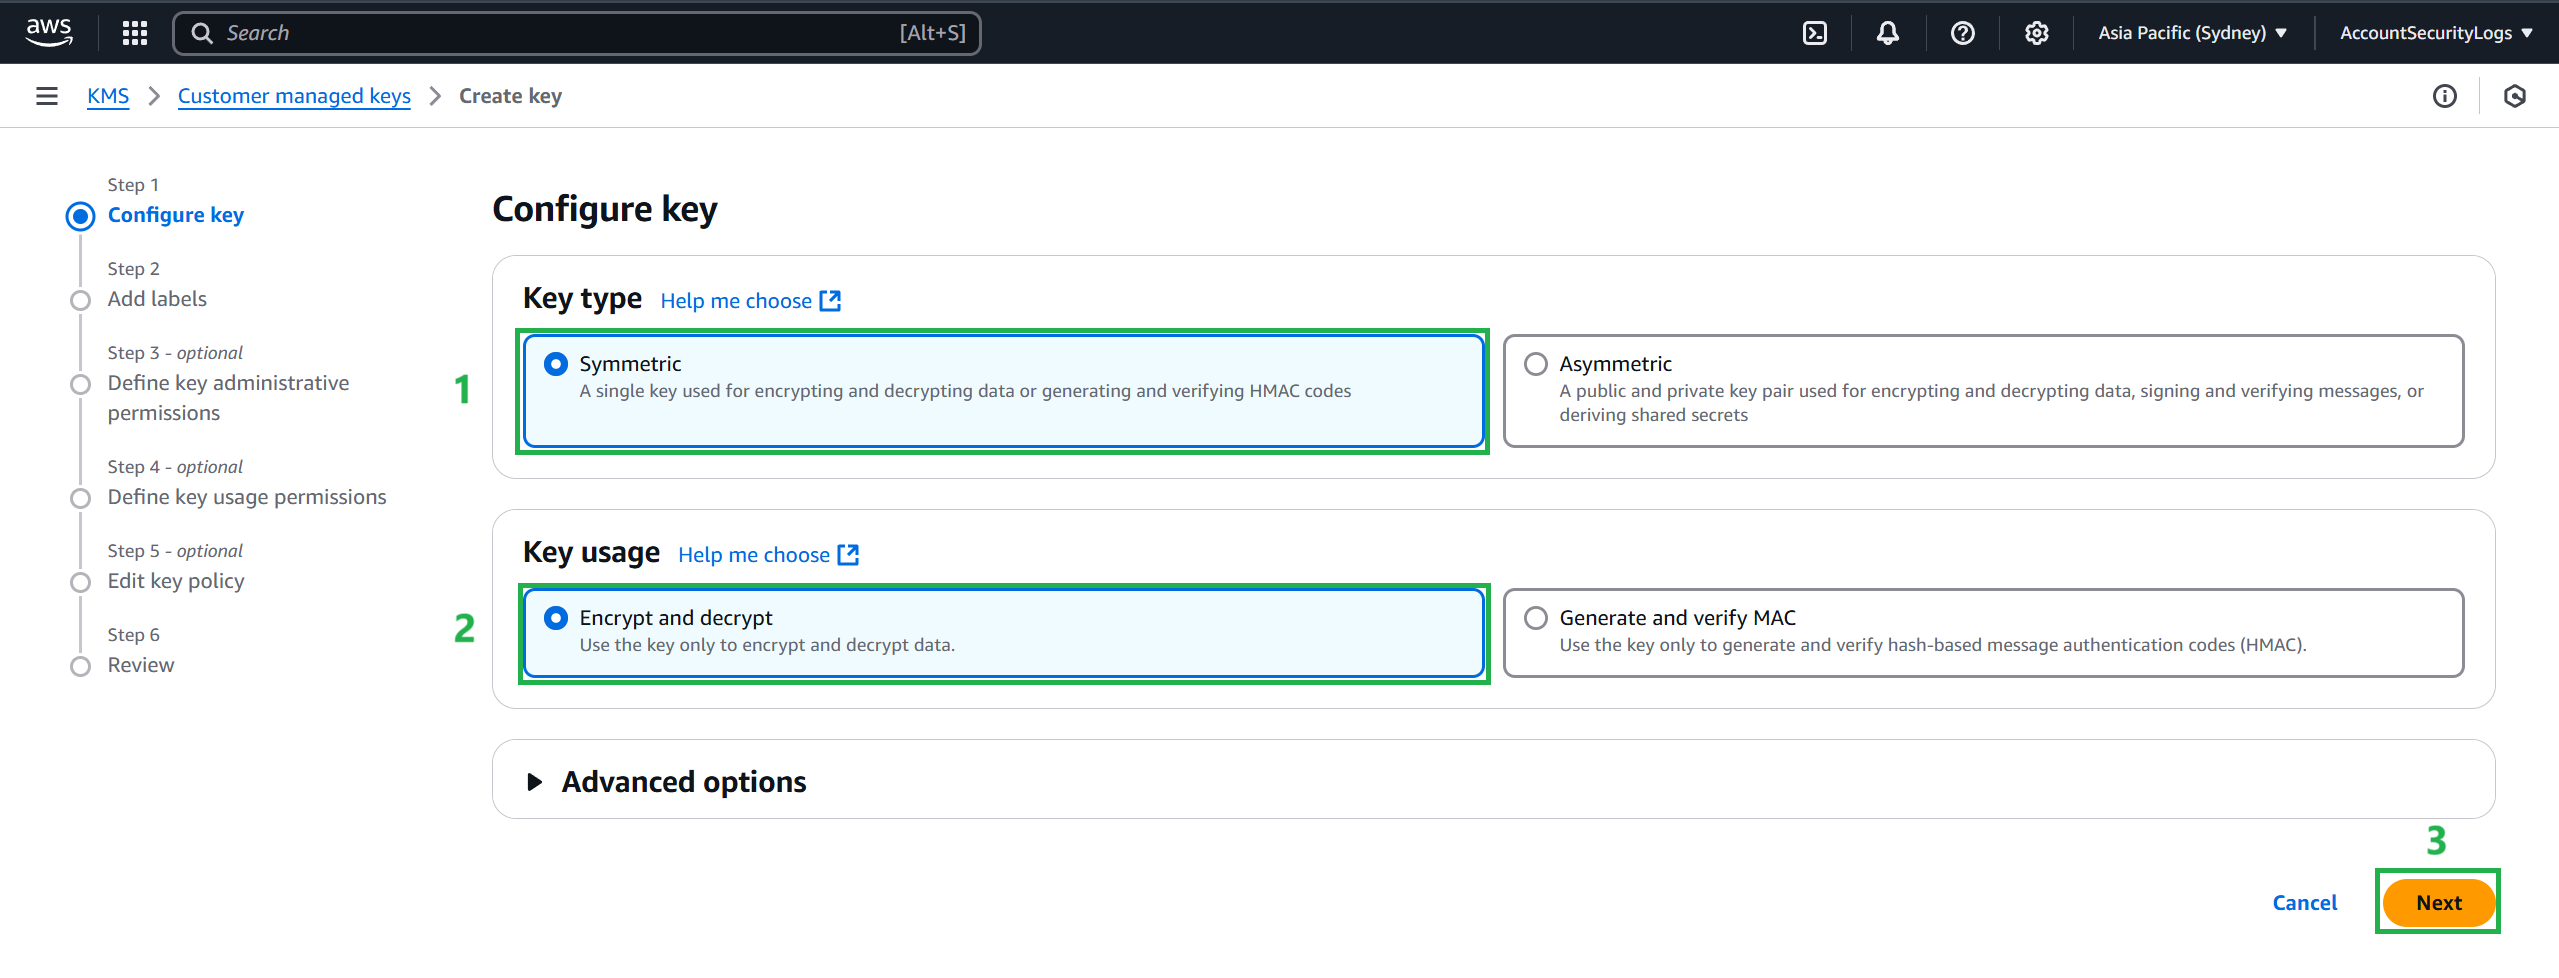
- In the key configuration section, select Symmetric and select Next.
- Enter an Alias for your key, for example:
- Alias:
CloudTrailKey - Description:
Key to encrypt CloudTrail logs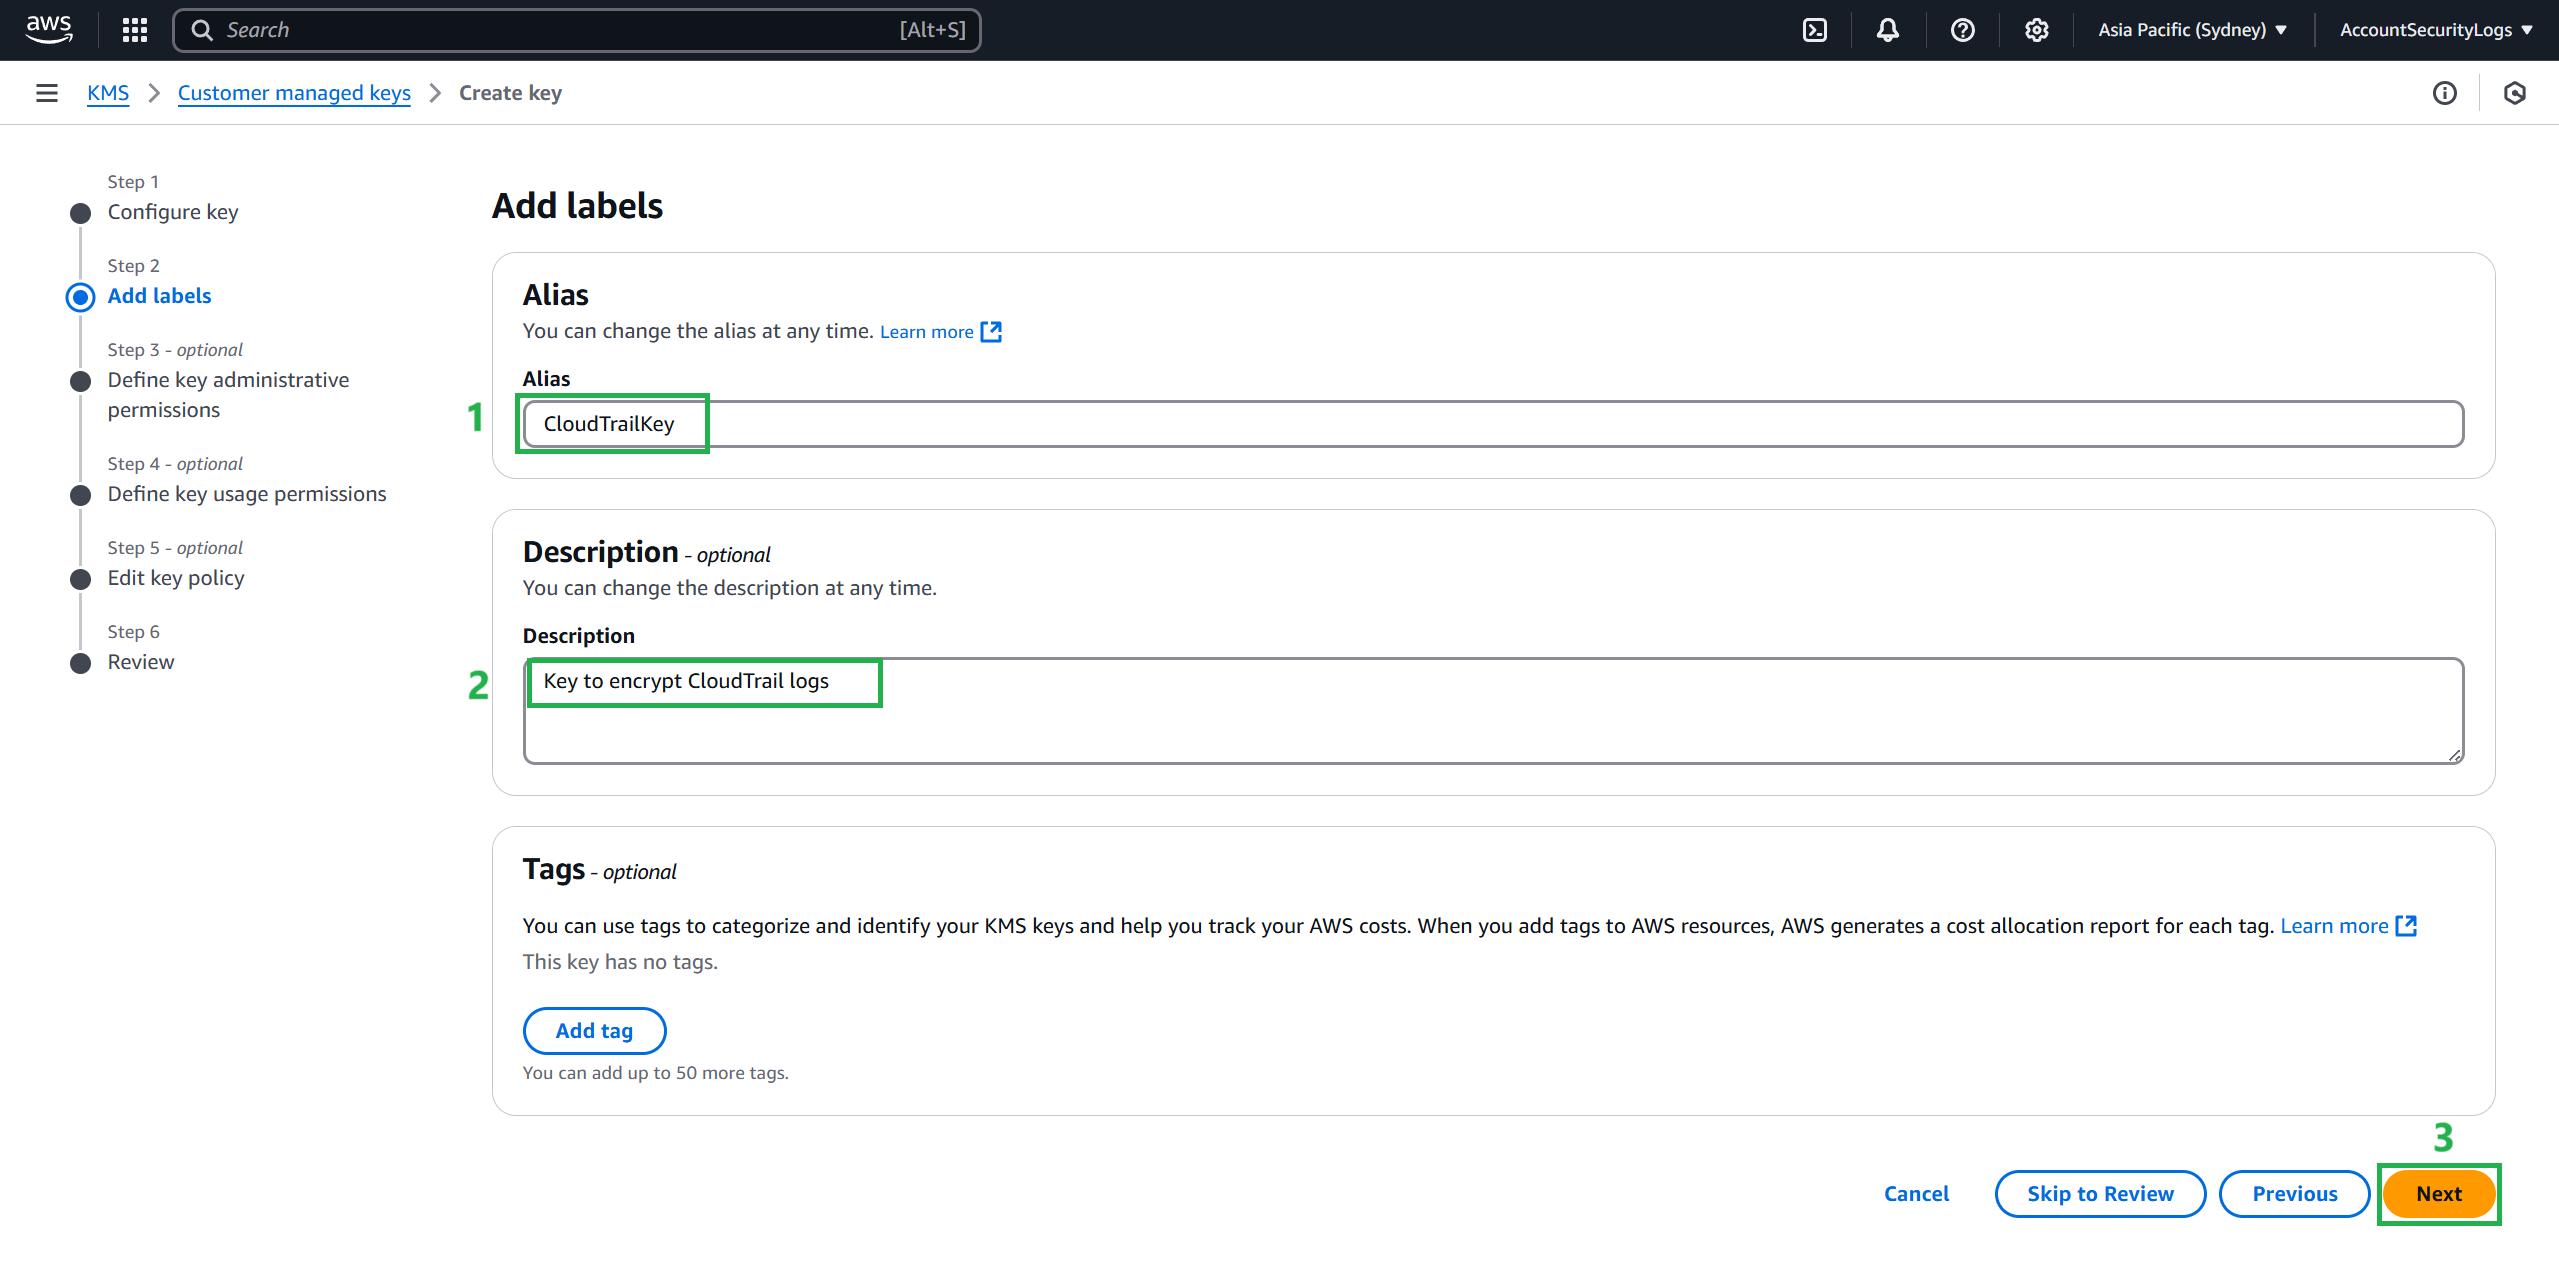
- Complete creating a key to encrypt CloudTrail logs
Create a bucket for CloudTrail logs
In the logging account (AccountSecurityLogs) that is still in your organization’s logging account.
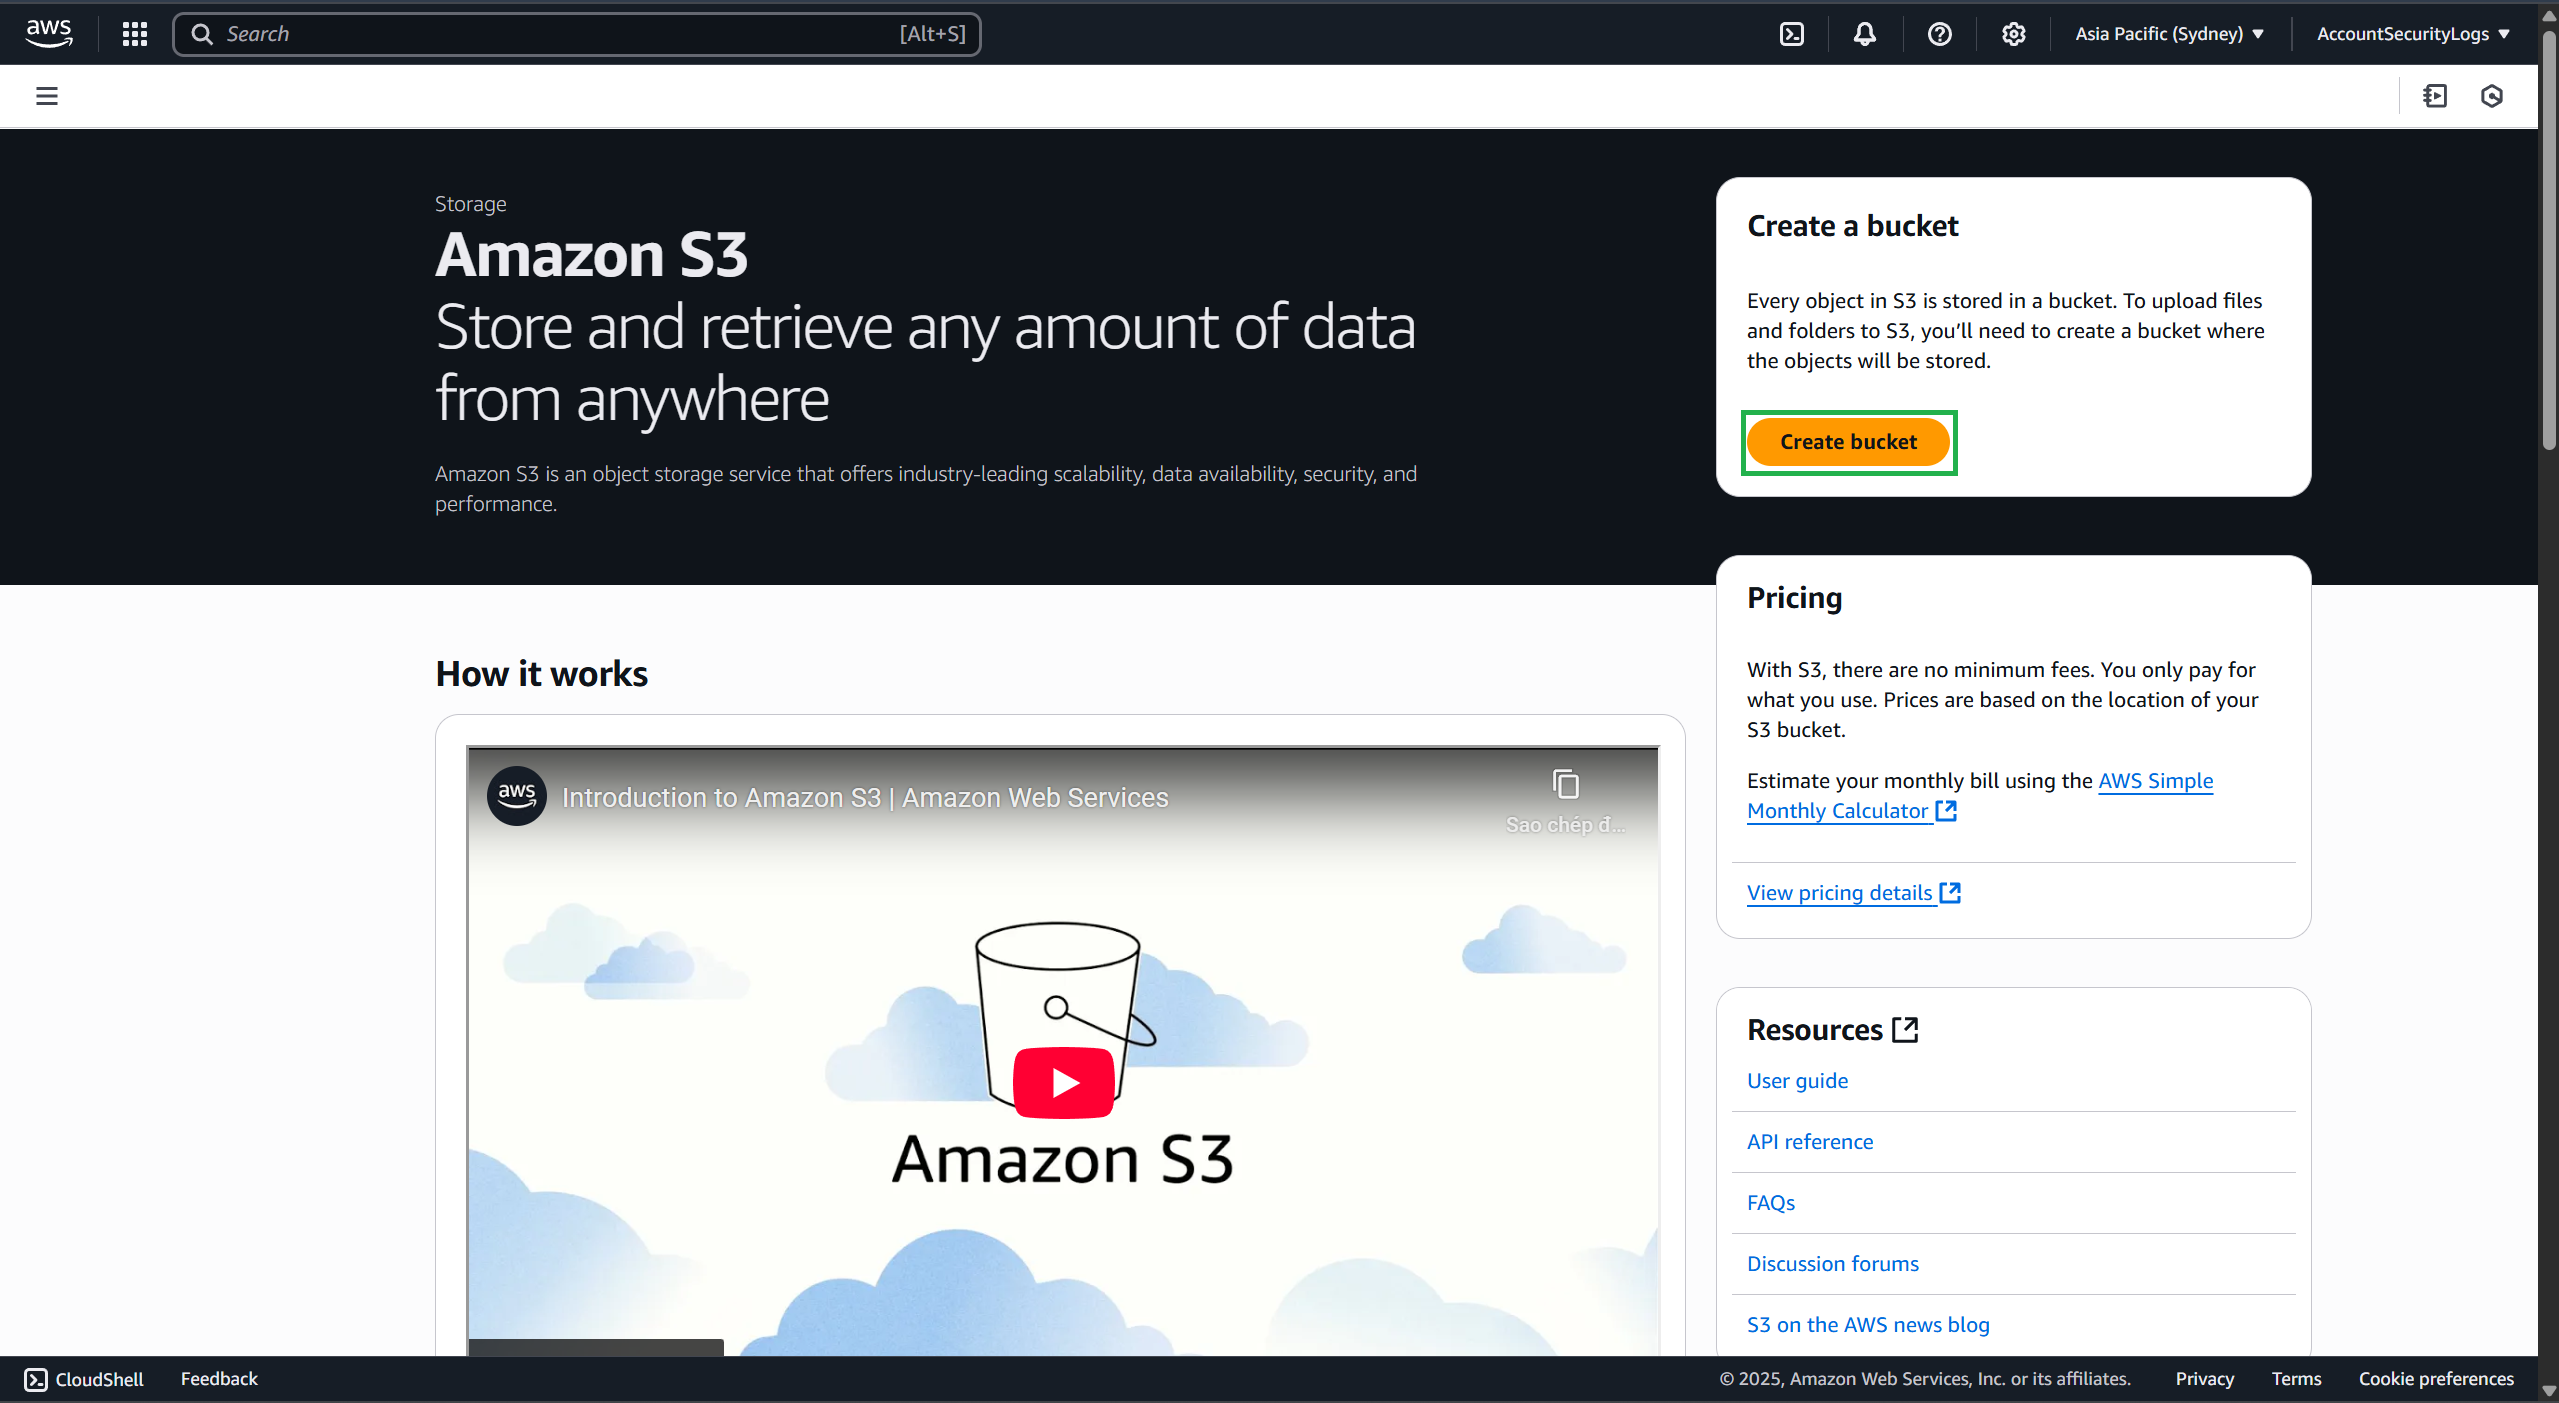
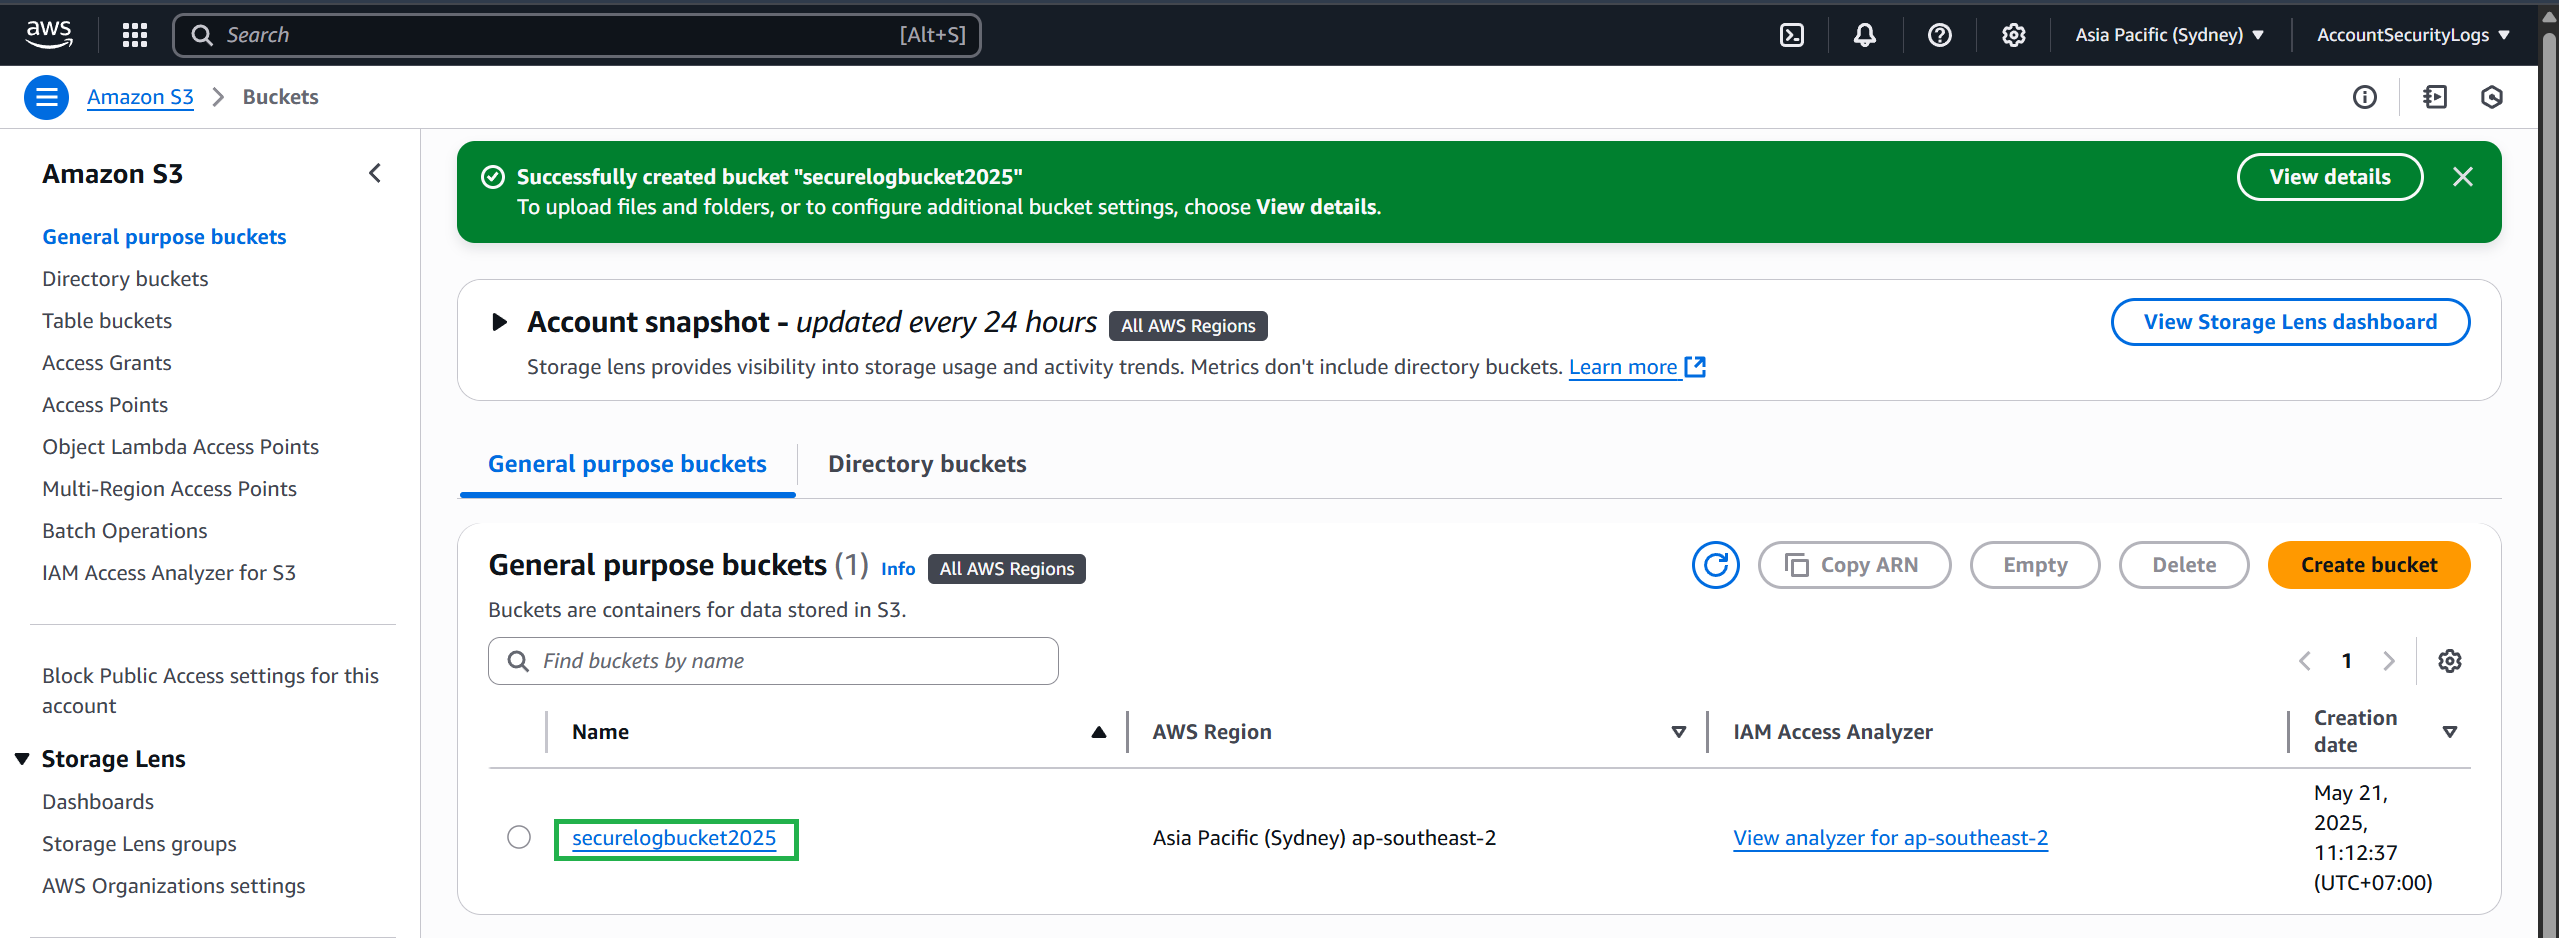
Navigate to Amazon S3, select Create bucket
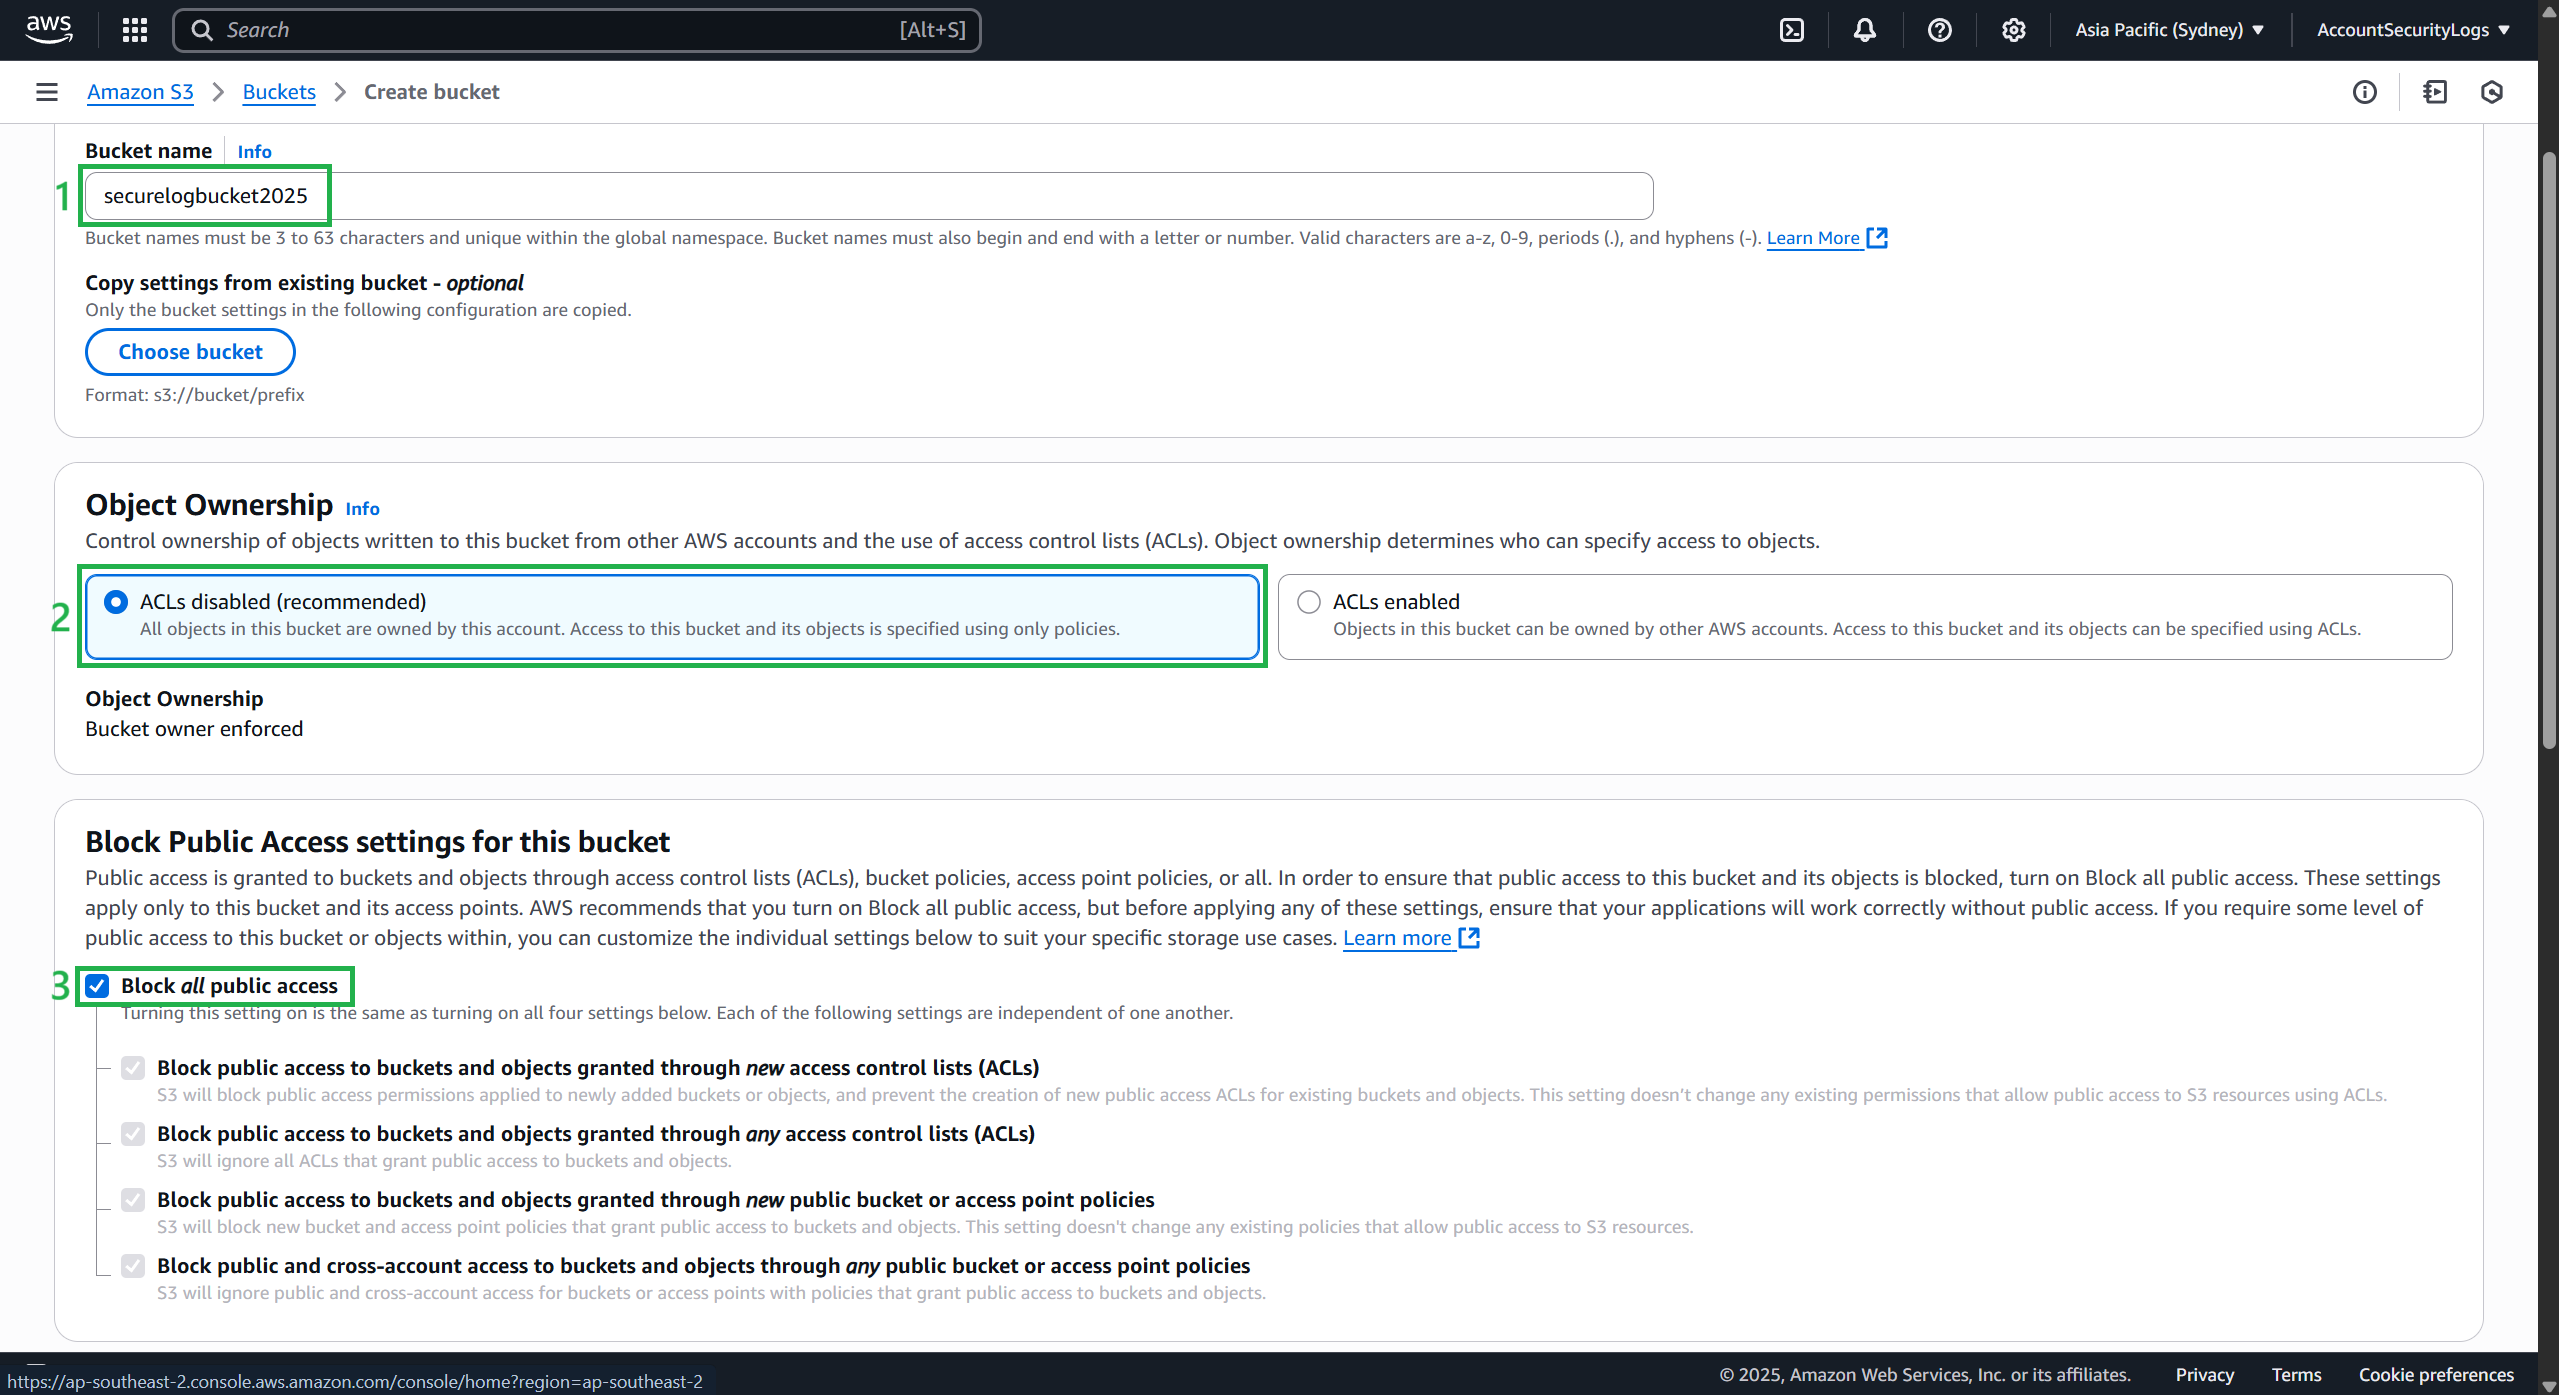
- Create a bucket as follows:
- Enter a Bucket name, for example:
securelogbucket2025 - Select ACLs disabled
- Select, allow Block all public access
- Keep the default configuration
- Finally, select Create bucket
Select the bucket you just created.
Then select the Permissions tab.
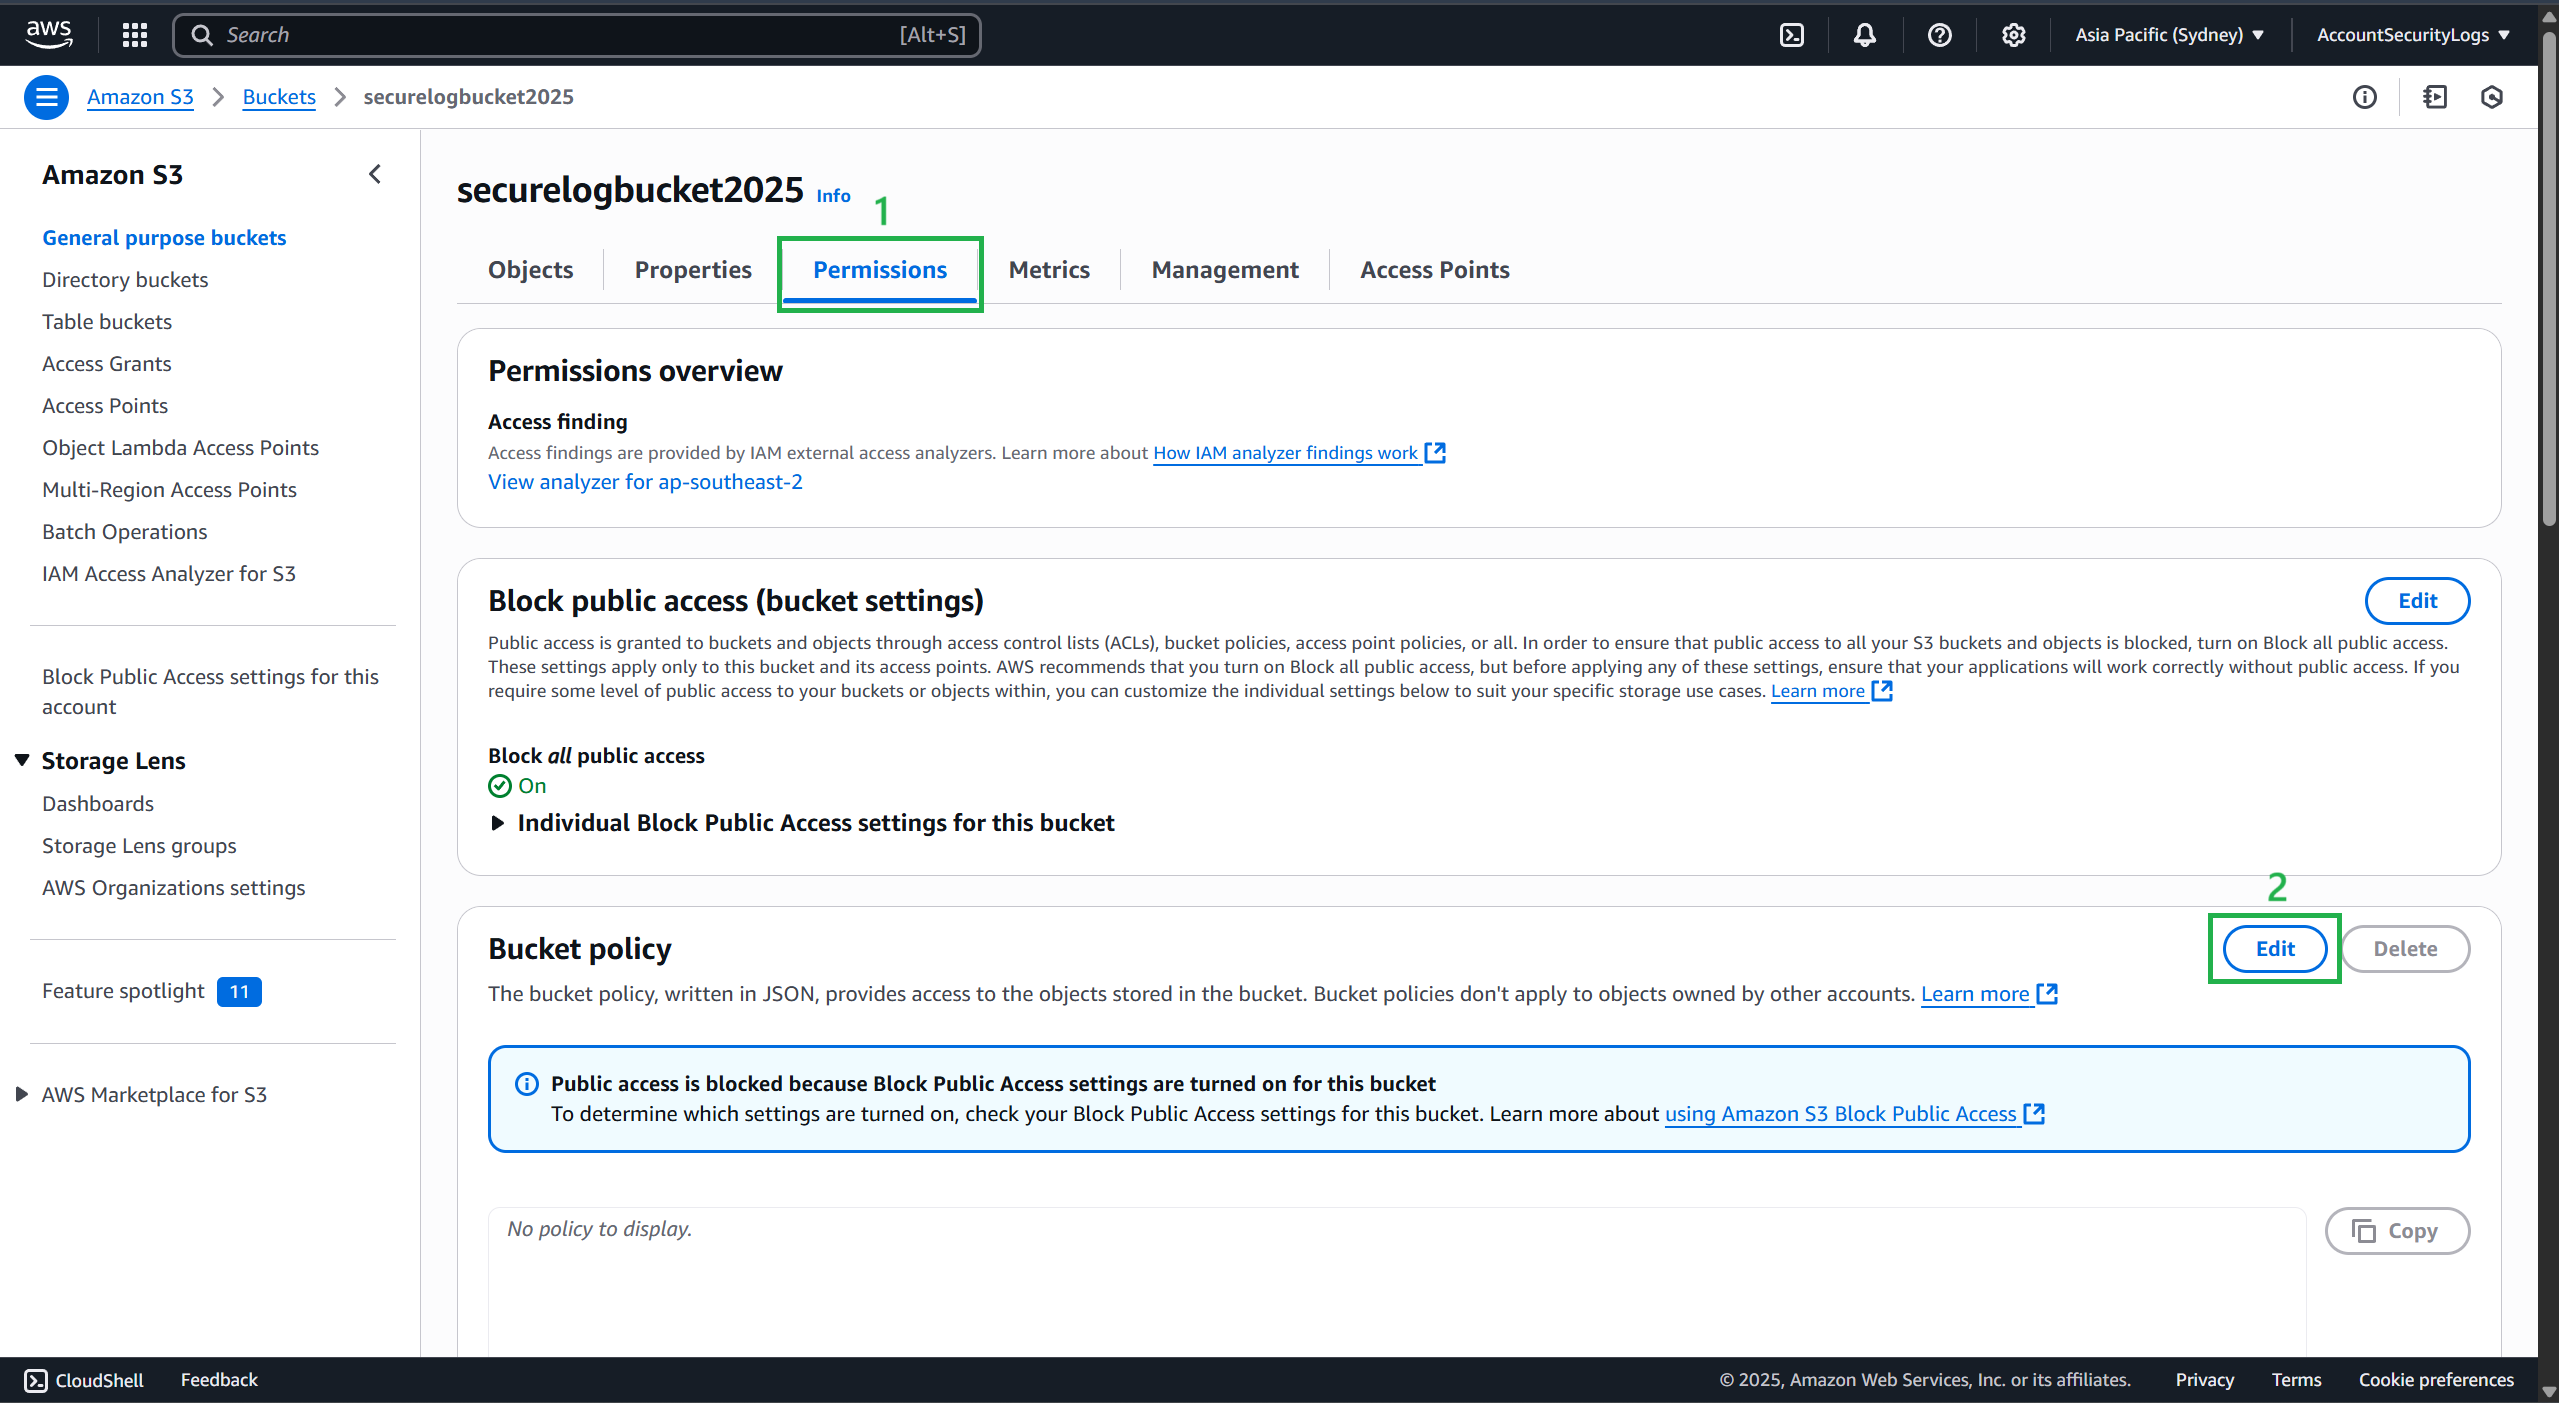
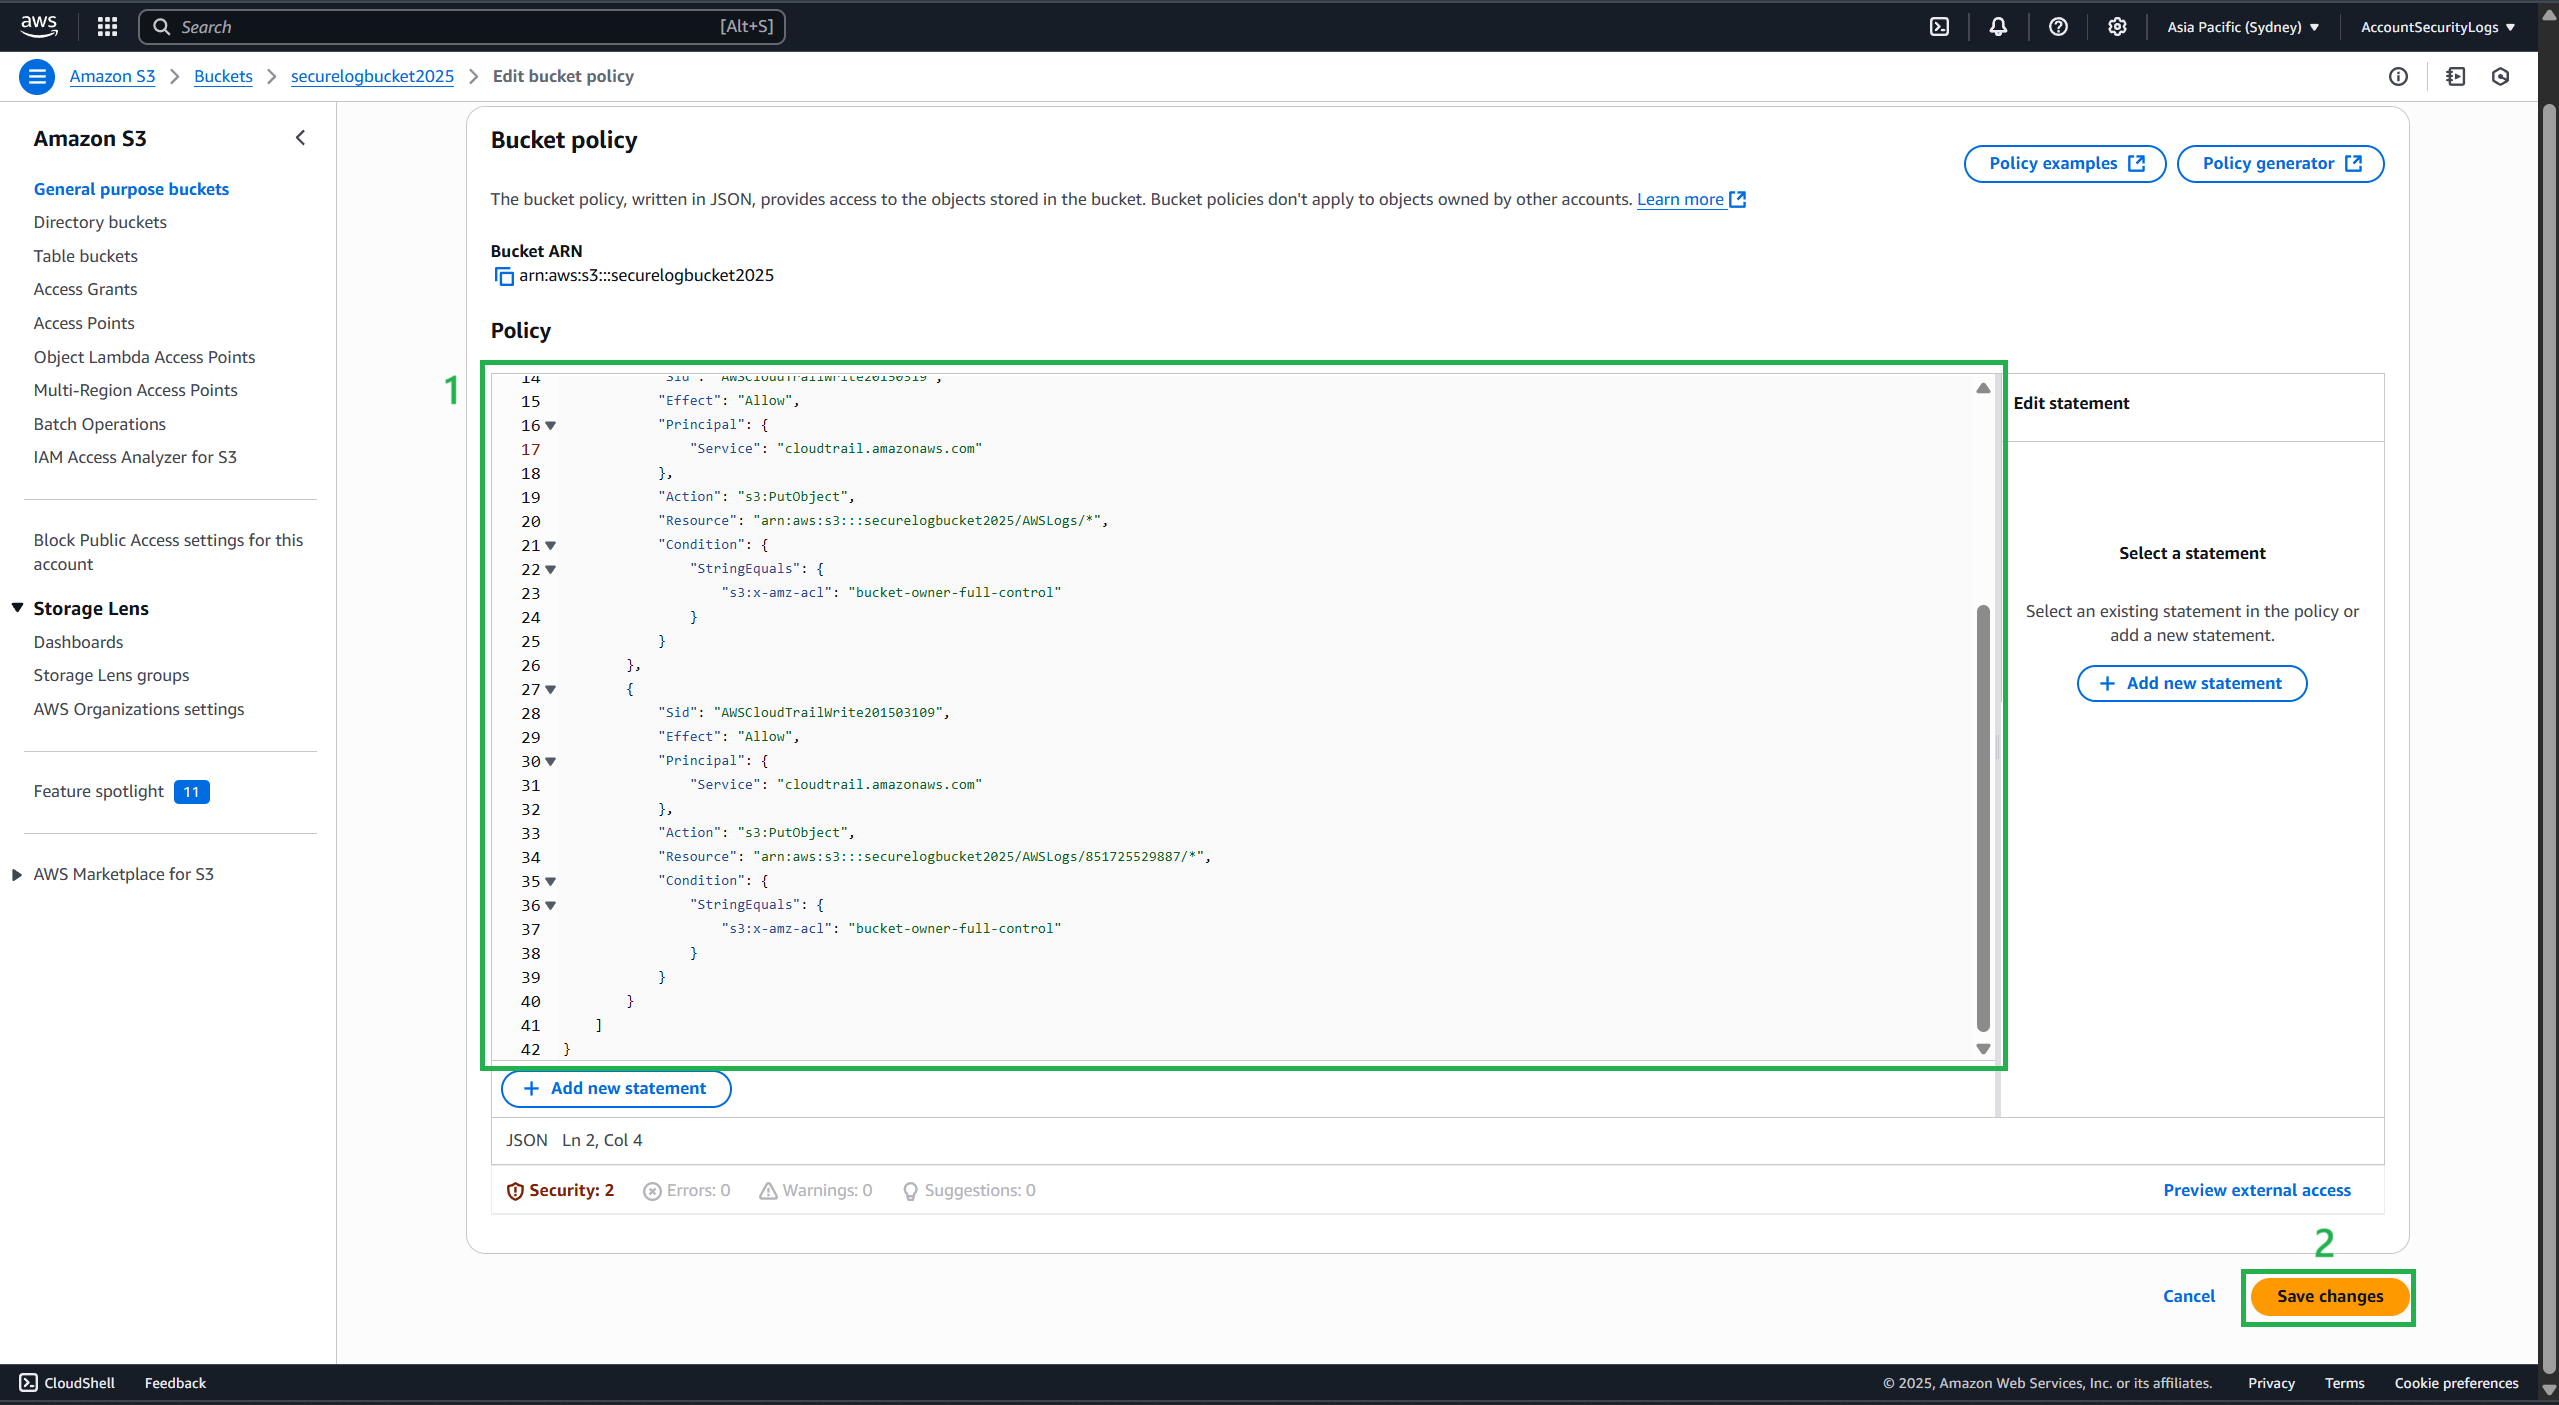
Replace Bucket Policy with the following content:
- [bucket] = your bucket name (e.g. securelogbucket2025)
- [organization id] = the organization id identified in step 1.
{
    "Version": "2012-10-17",
    "Statement": [
        {
            "Sid": "AWSCloudTrailAclCheck20150319",
            "Effect": "Allow",
            "Principal": {
                "Service": "cloudtrail.amazonaws.com"
            },
            "Action": "s3:GetBucketAcl",
            "Resource": "arn:aws:s3:::[bucket]"
        },
        {
            "Sid": "AWSCloudTrailWrite20150319",
            "Effect": "Allow",
            "Principal": {
                "Service": "cloudtrail.amazonaws.com"
            },
            "Action": "s3:PutObject",
            "Resource": "arn:aws:s3:::[bucket]/AWSLogs/*",
            "Condition": {
                "StringEquals": {
                    "s3:x-amz-acl": "bucket-owner-full-control"
                }
            }
        },
        {
            "Sid": "AWSCloudTrailWrite201503109",
            "Effect": "Allow",
            "Principal": {
                "Service": "cloudtrail.amazonaws.com"
            },
            "Action": "s3:PutObject",
            "Resource": "arn:aws:s3:::[bucket]/AWSLogs/[organization id]/*",
            "Condition": {
                "StringEquals": {
                    "s3:x-amz-acl": "bucket-owner-full-control"
                }
            }
        }
    ]
}
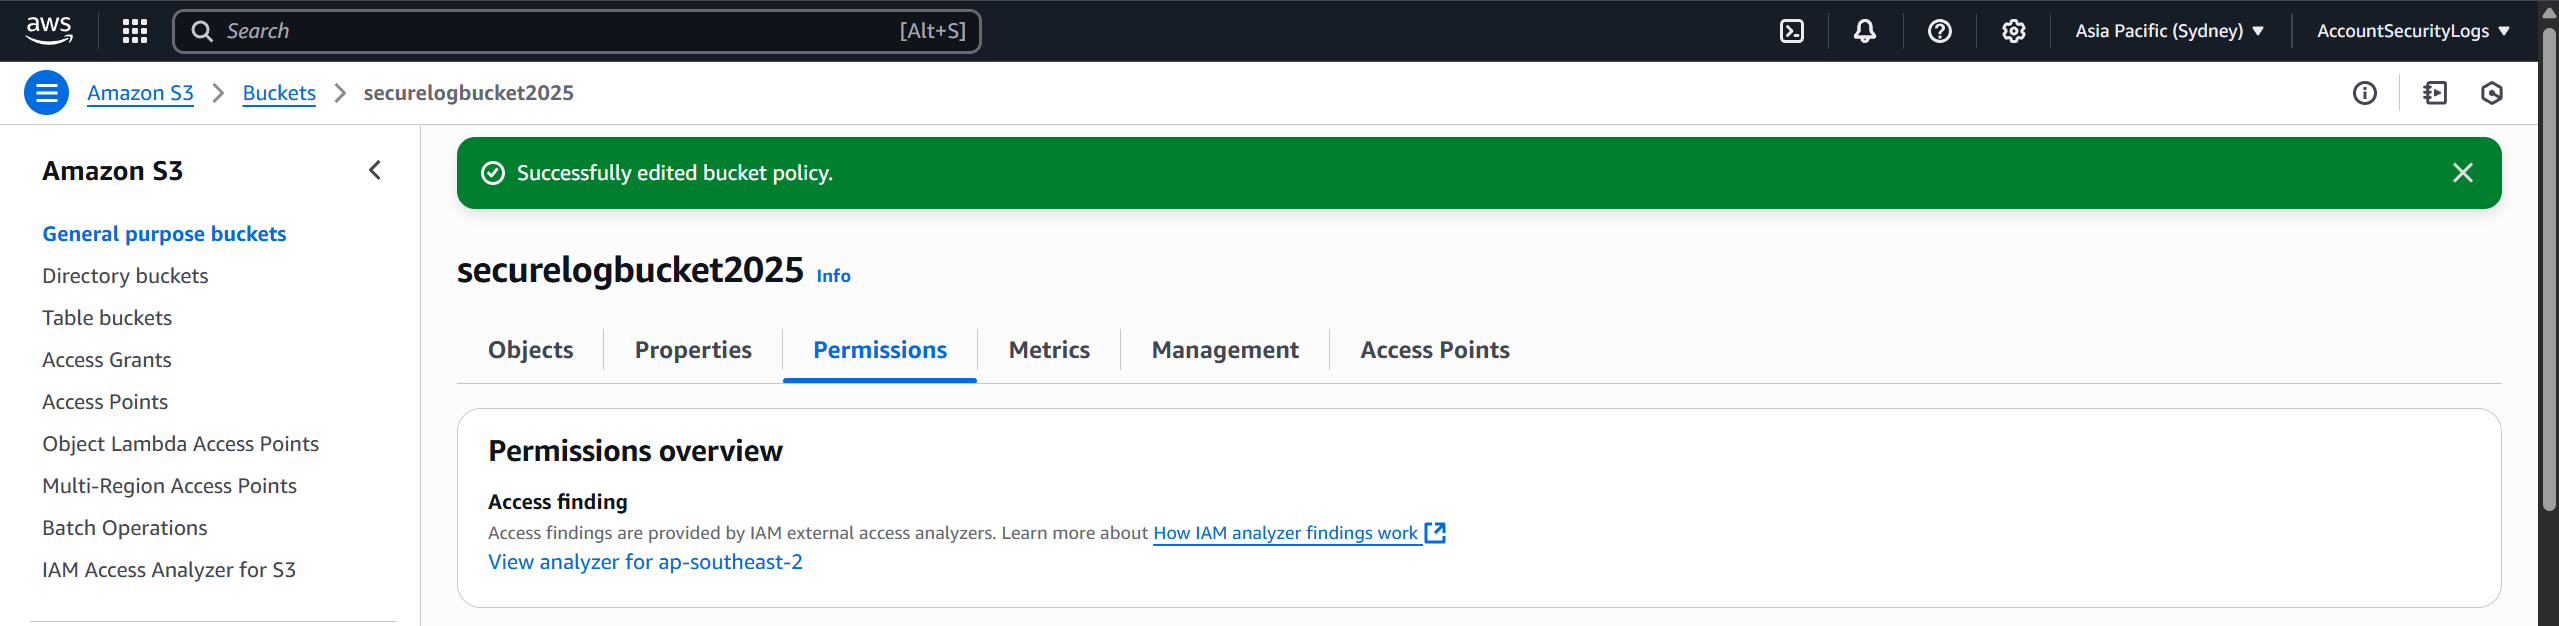
- After changing, press Save changes
- Bucket created successfully.
Ensure Read-Only Access for the Logging Account
Follow these steps to prevent OrganizationAccountAccessRole from making further changes to this account.
Navigate to IAM and select Role. Select the organization account access role for your organization. The default is
OrganizationAccountAccessRole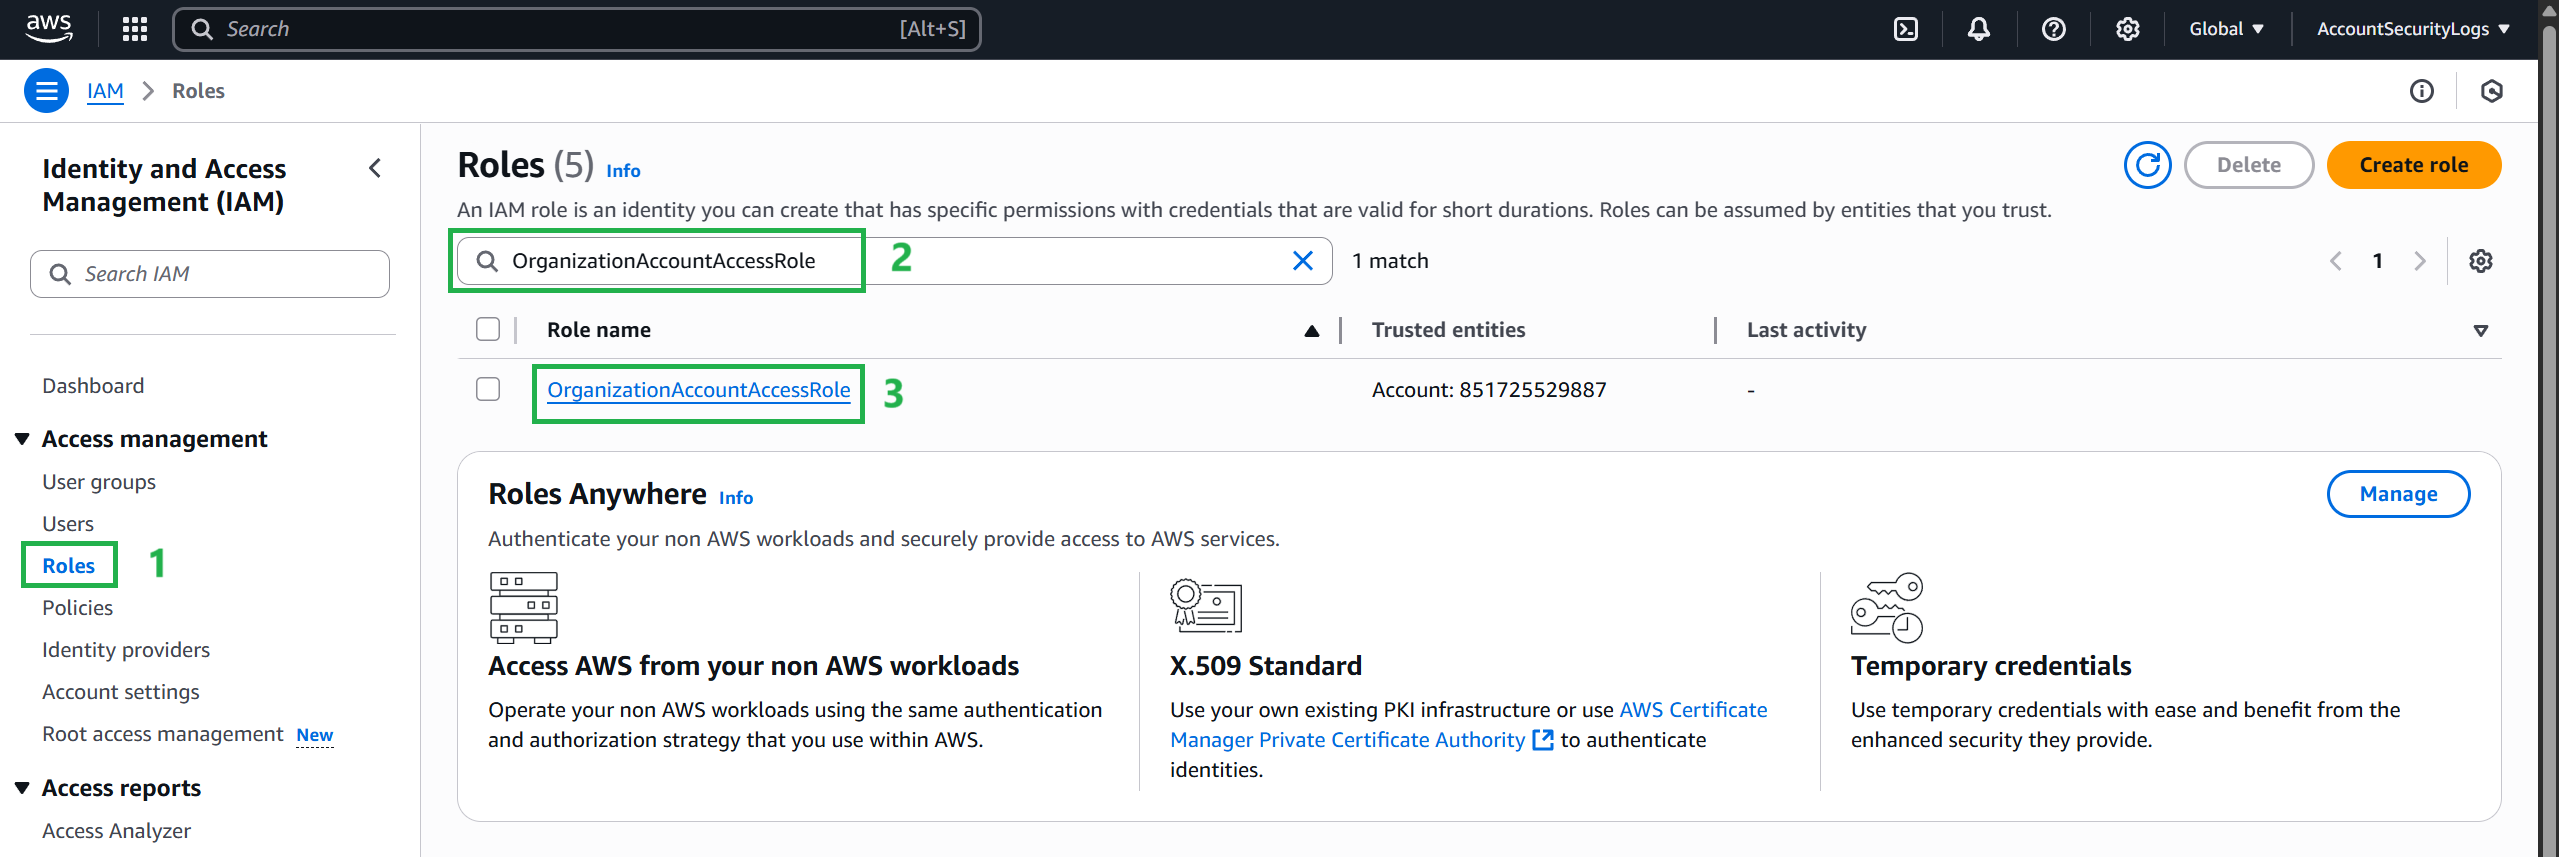
Select Add Polices
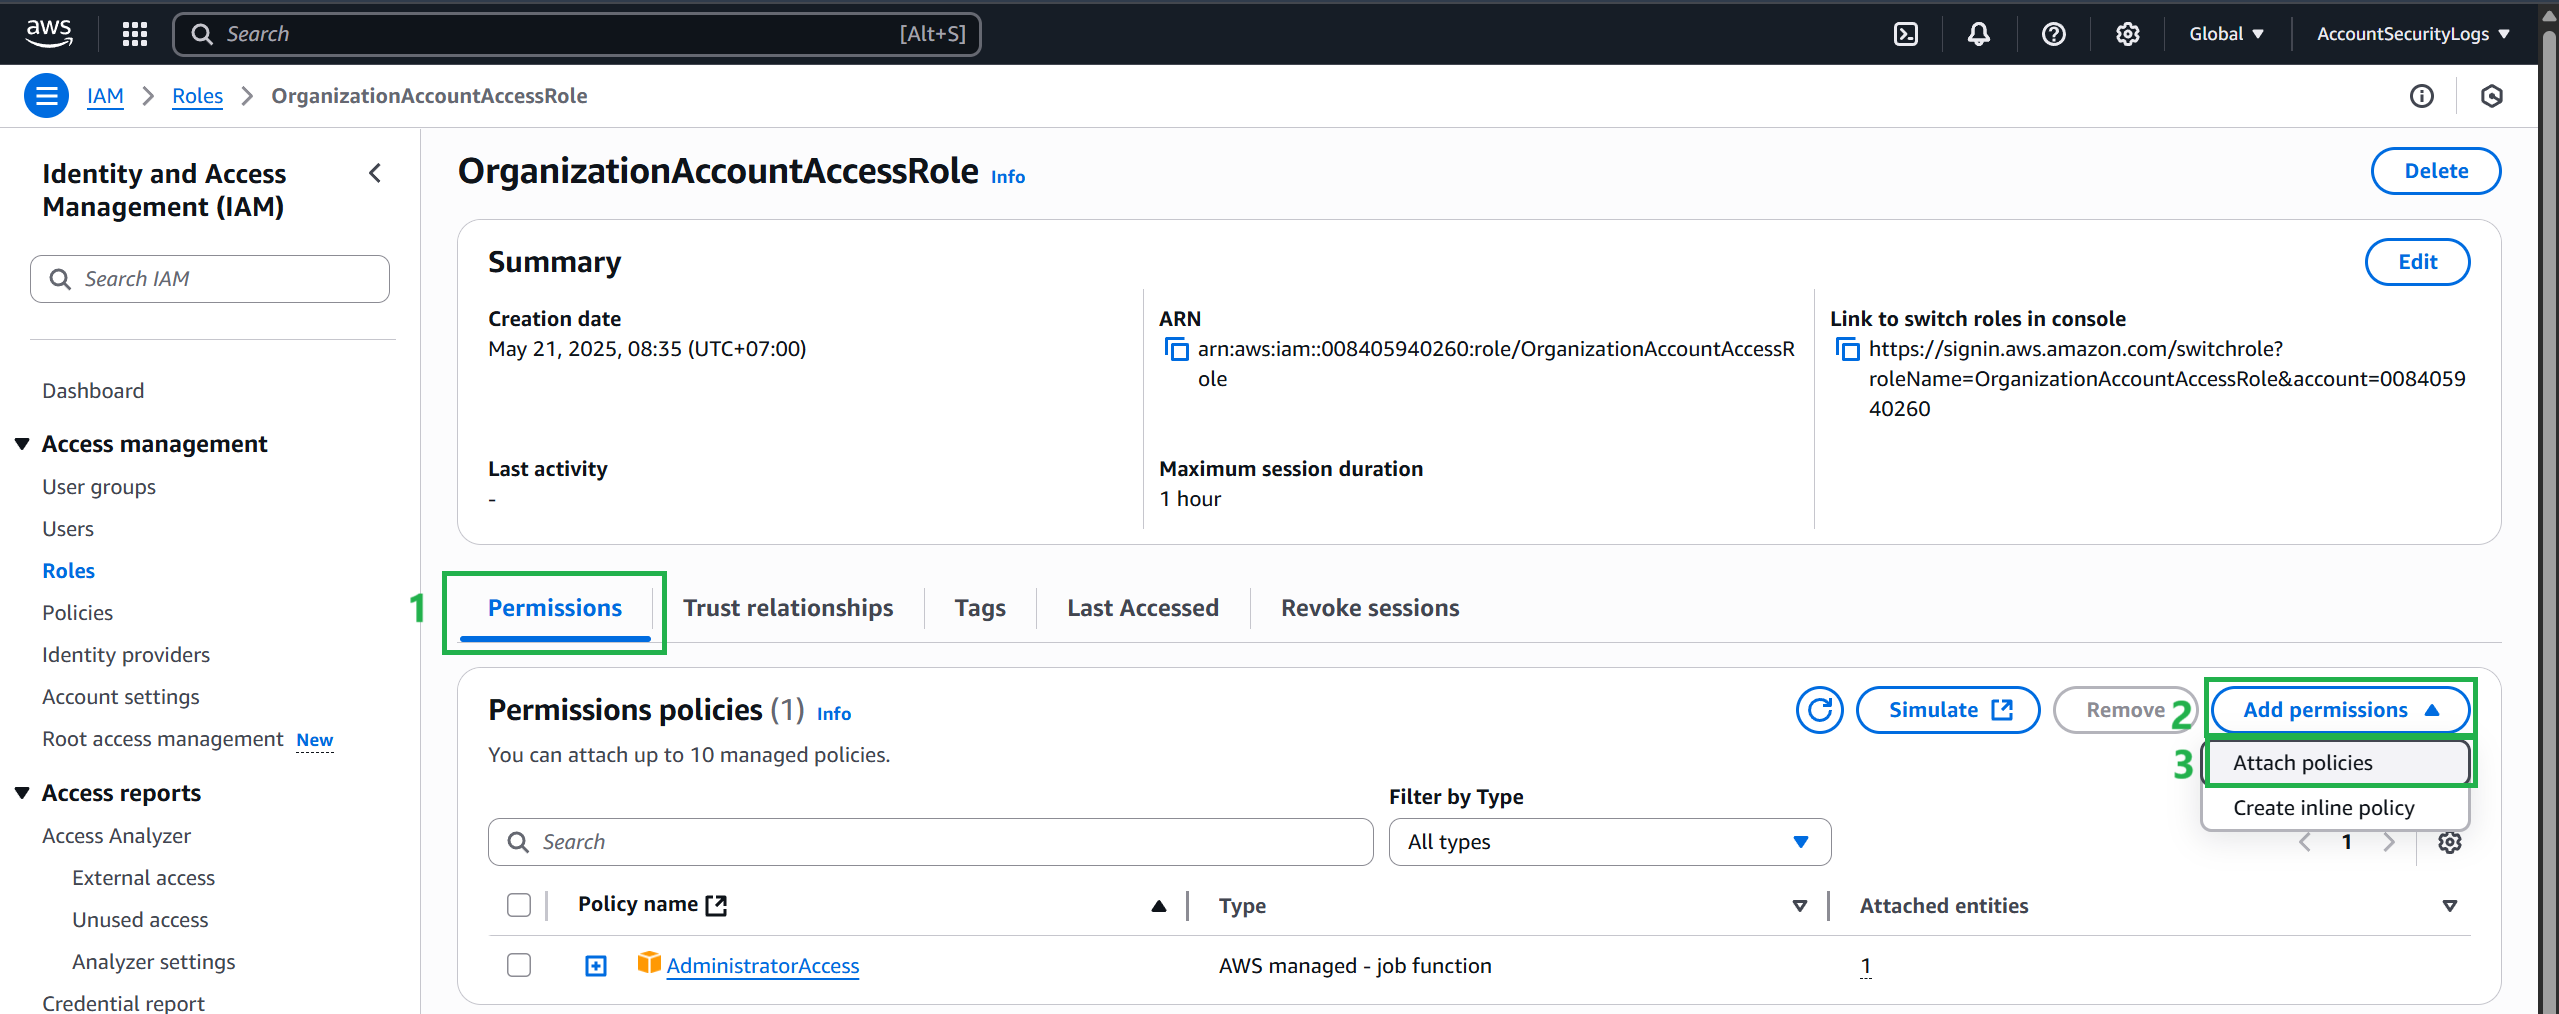
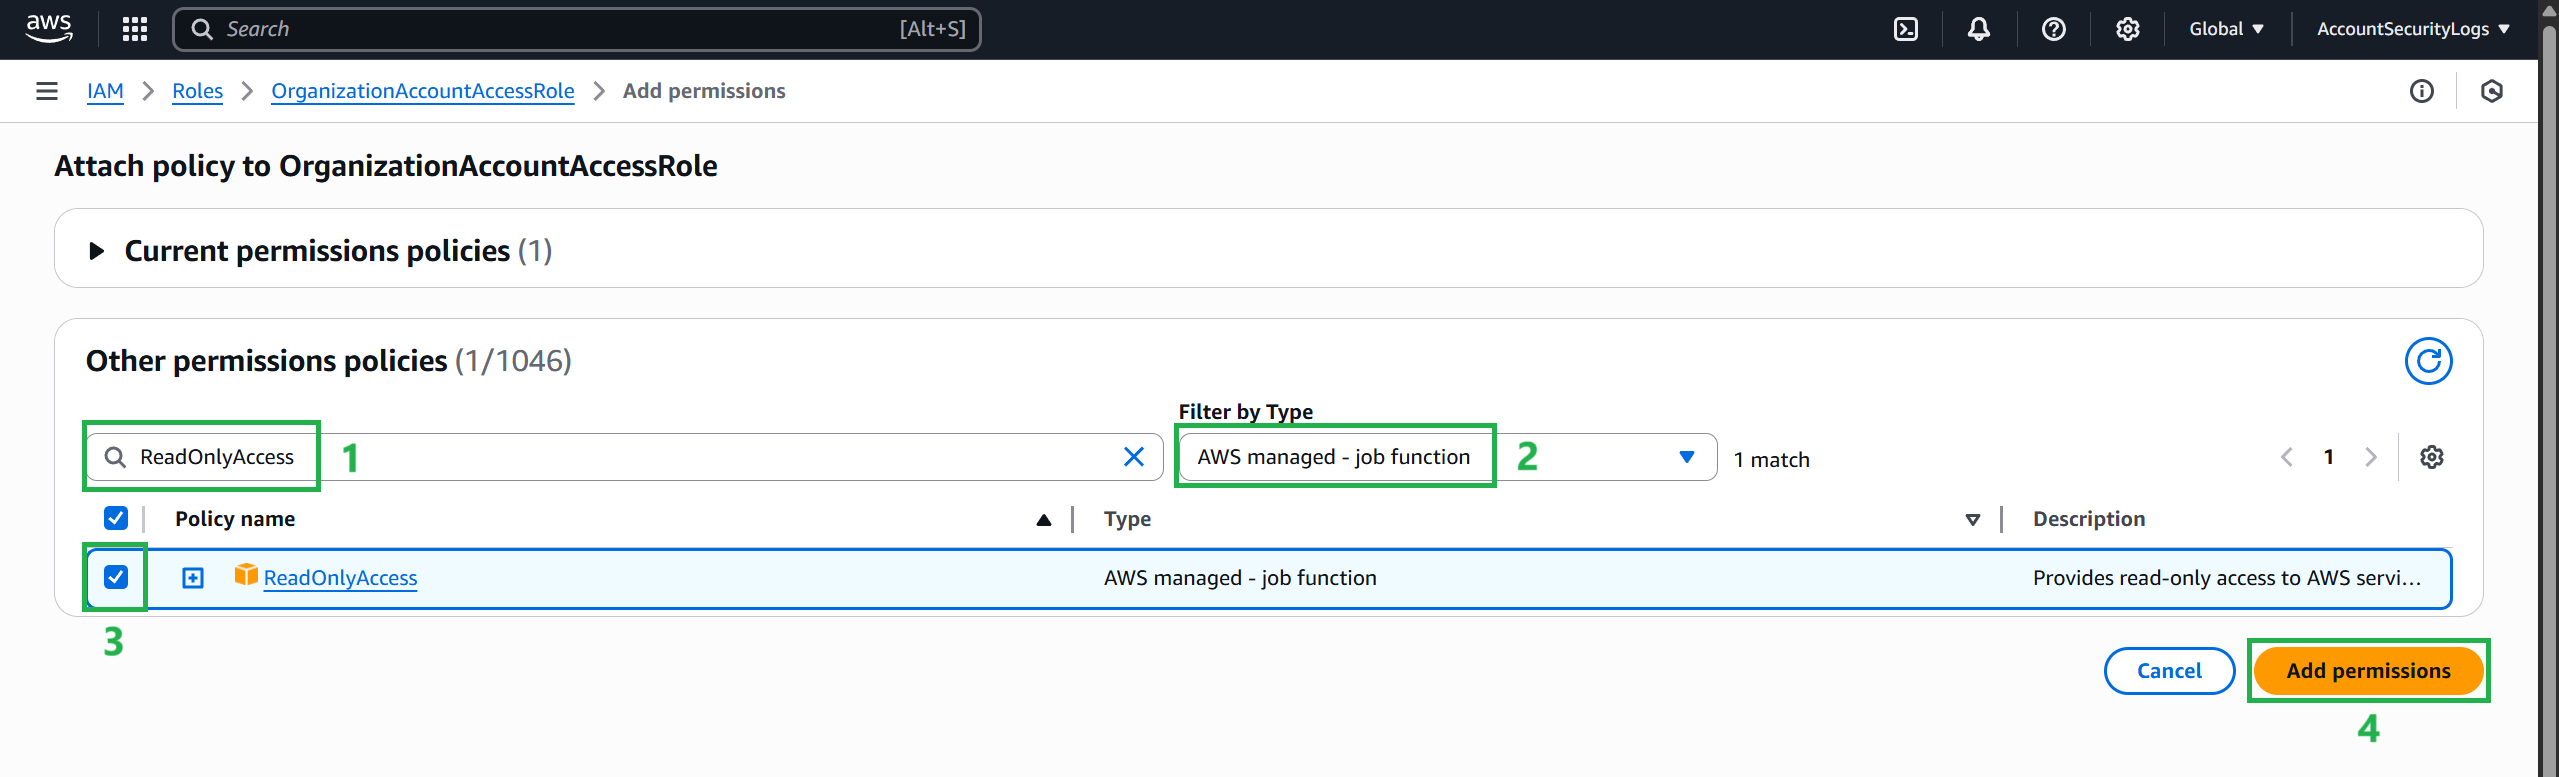
Attach the AWS-managed ReadOnlyAccess Policy.
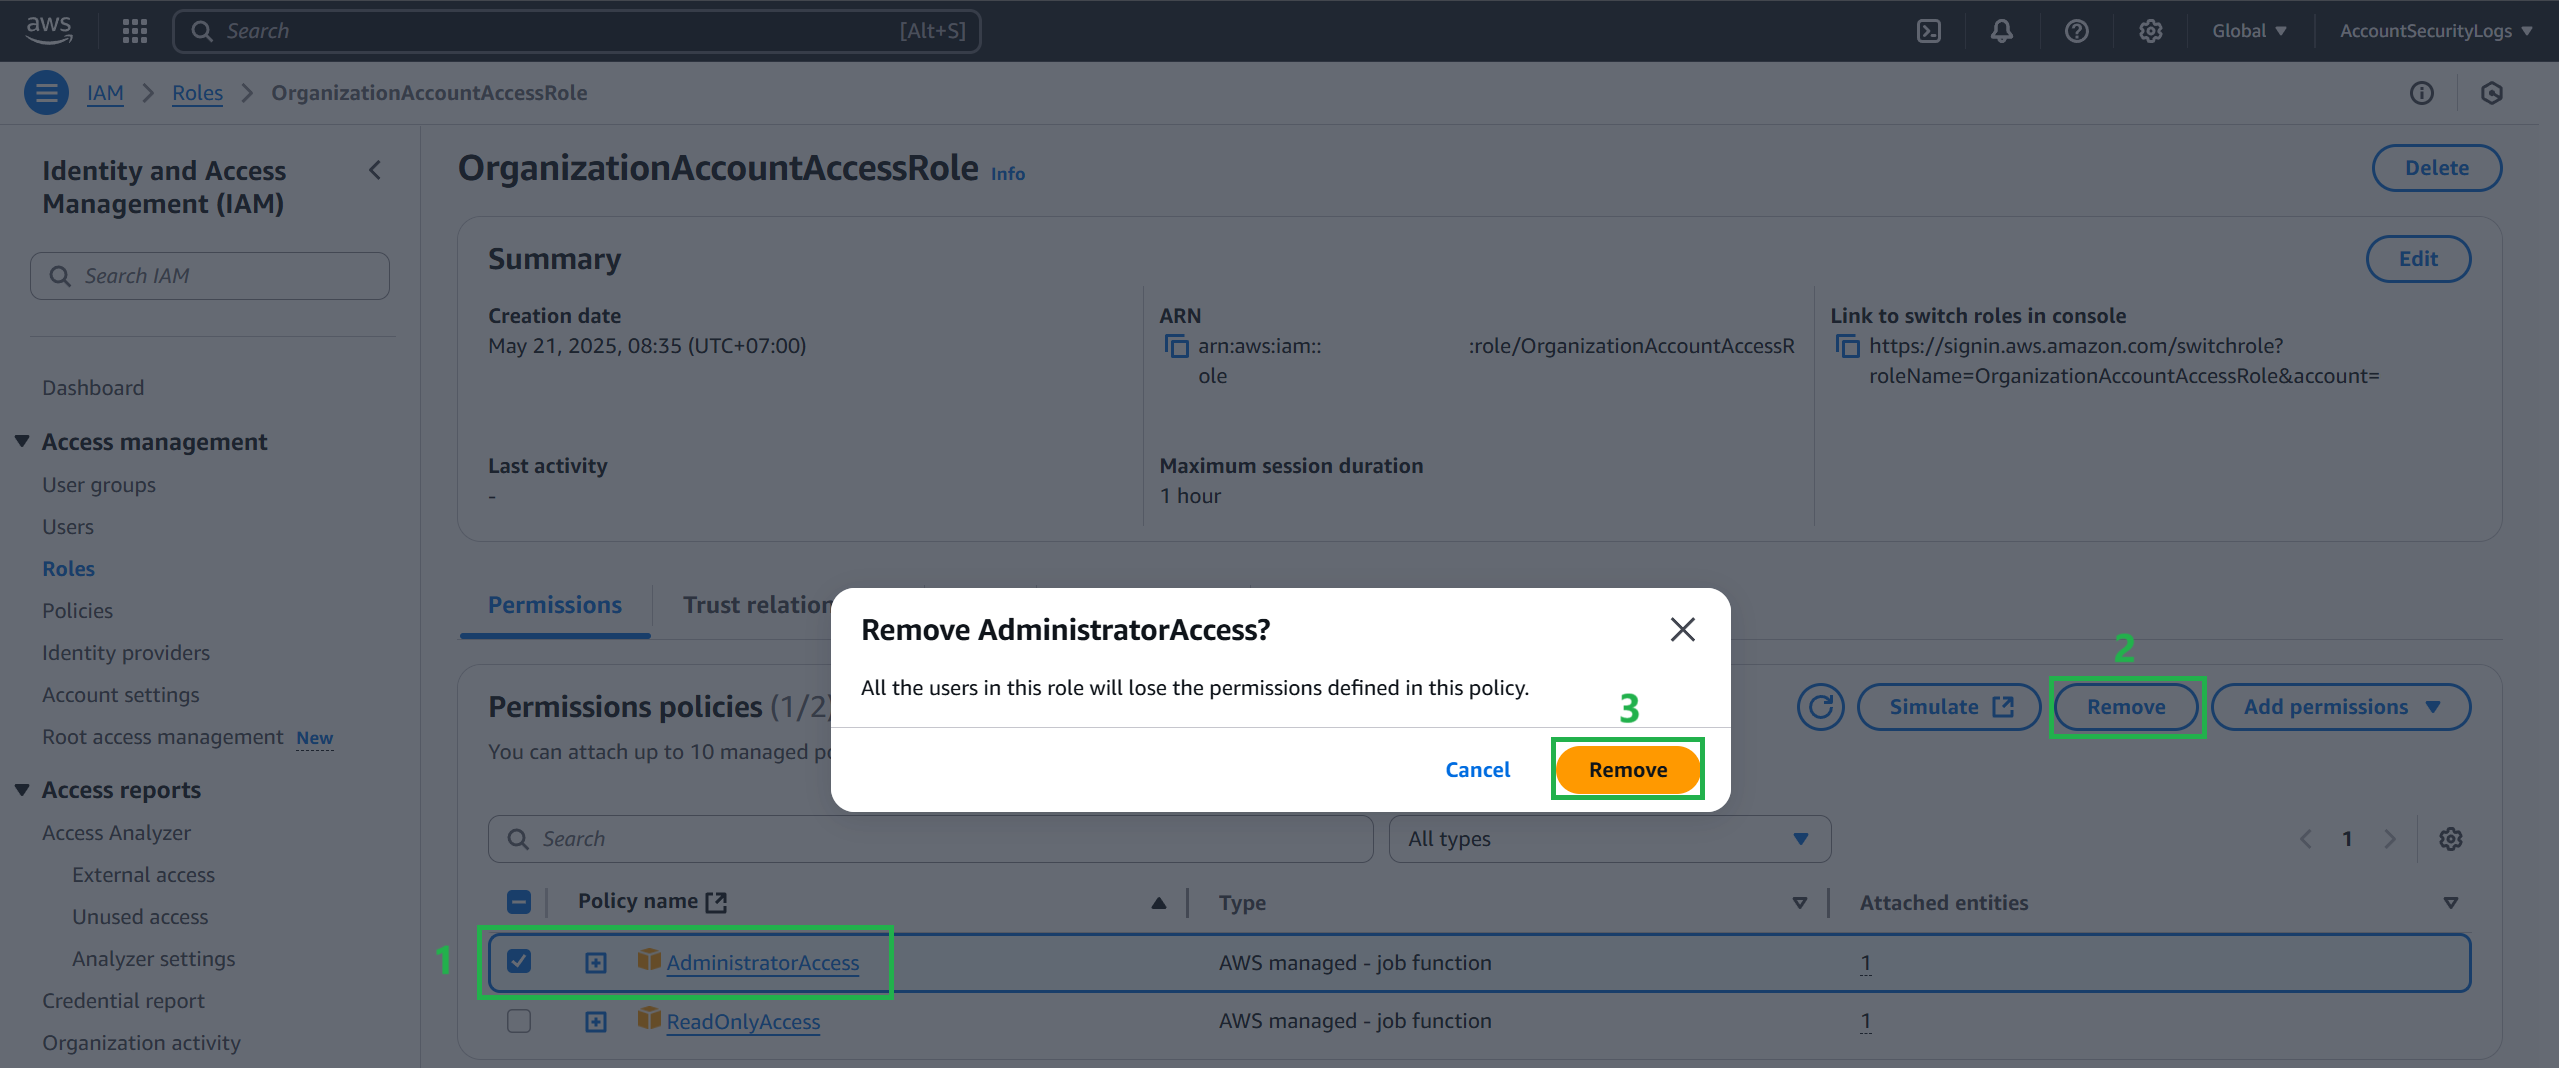
- Go back to OrganizationAccountAccessRole and press X to delete the AdministratorAccess policy
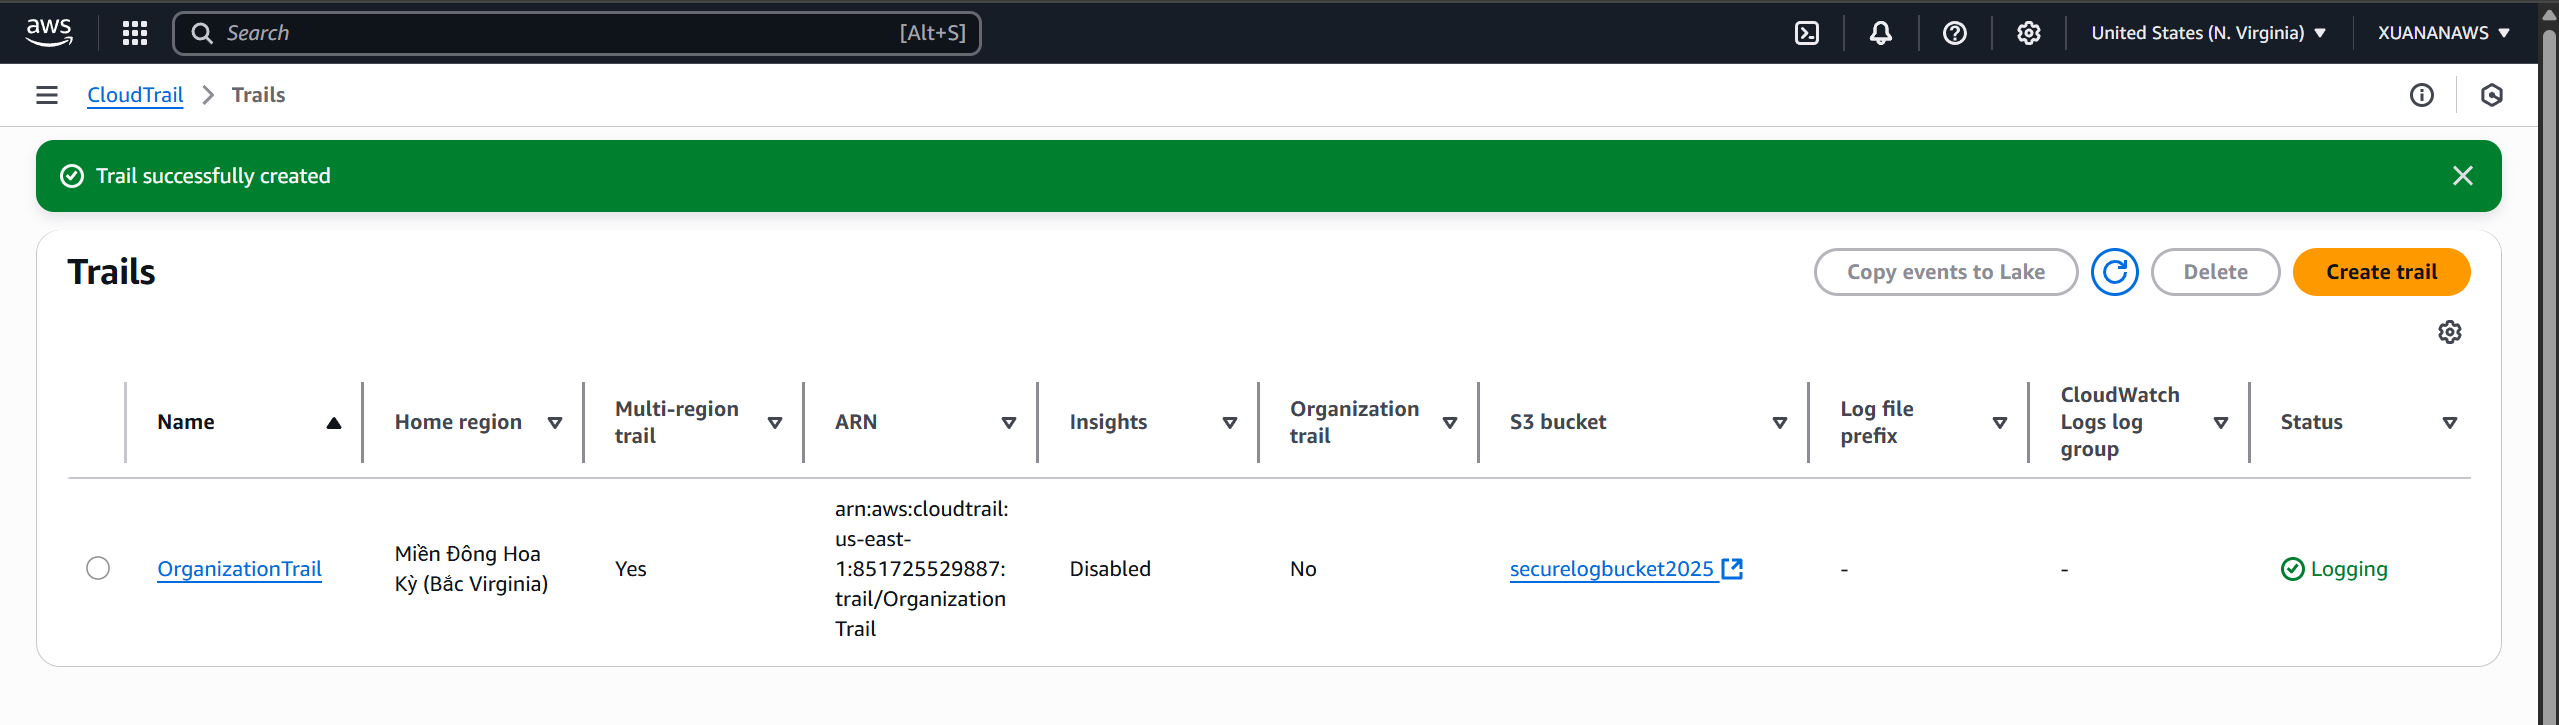
Enable CloudTrail from the management account
Switch back to the management account.
Navigate to CloudTrail. In the left menu bar, select Trail. Then, select the Create trail button
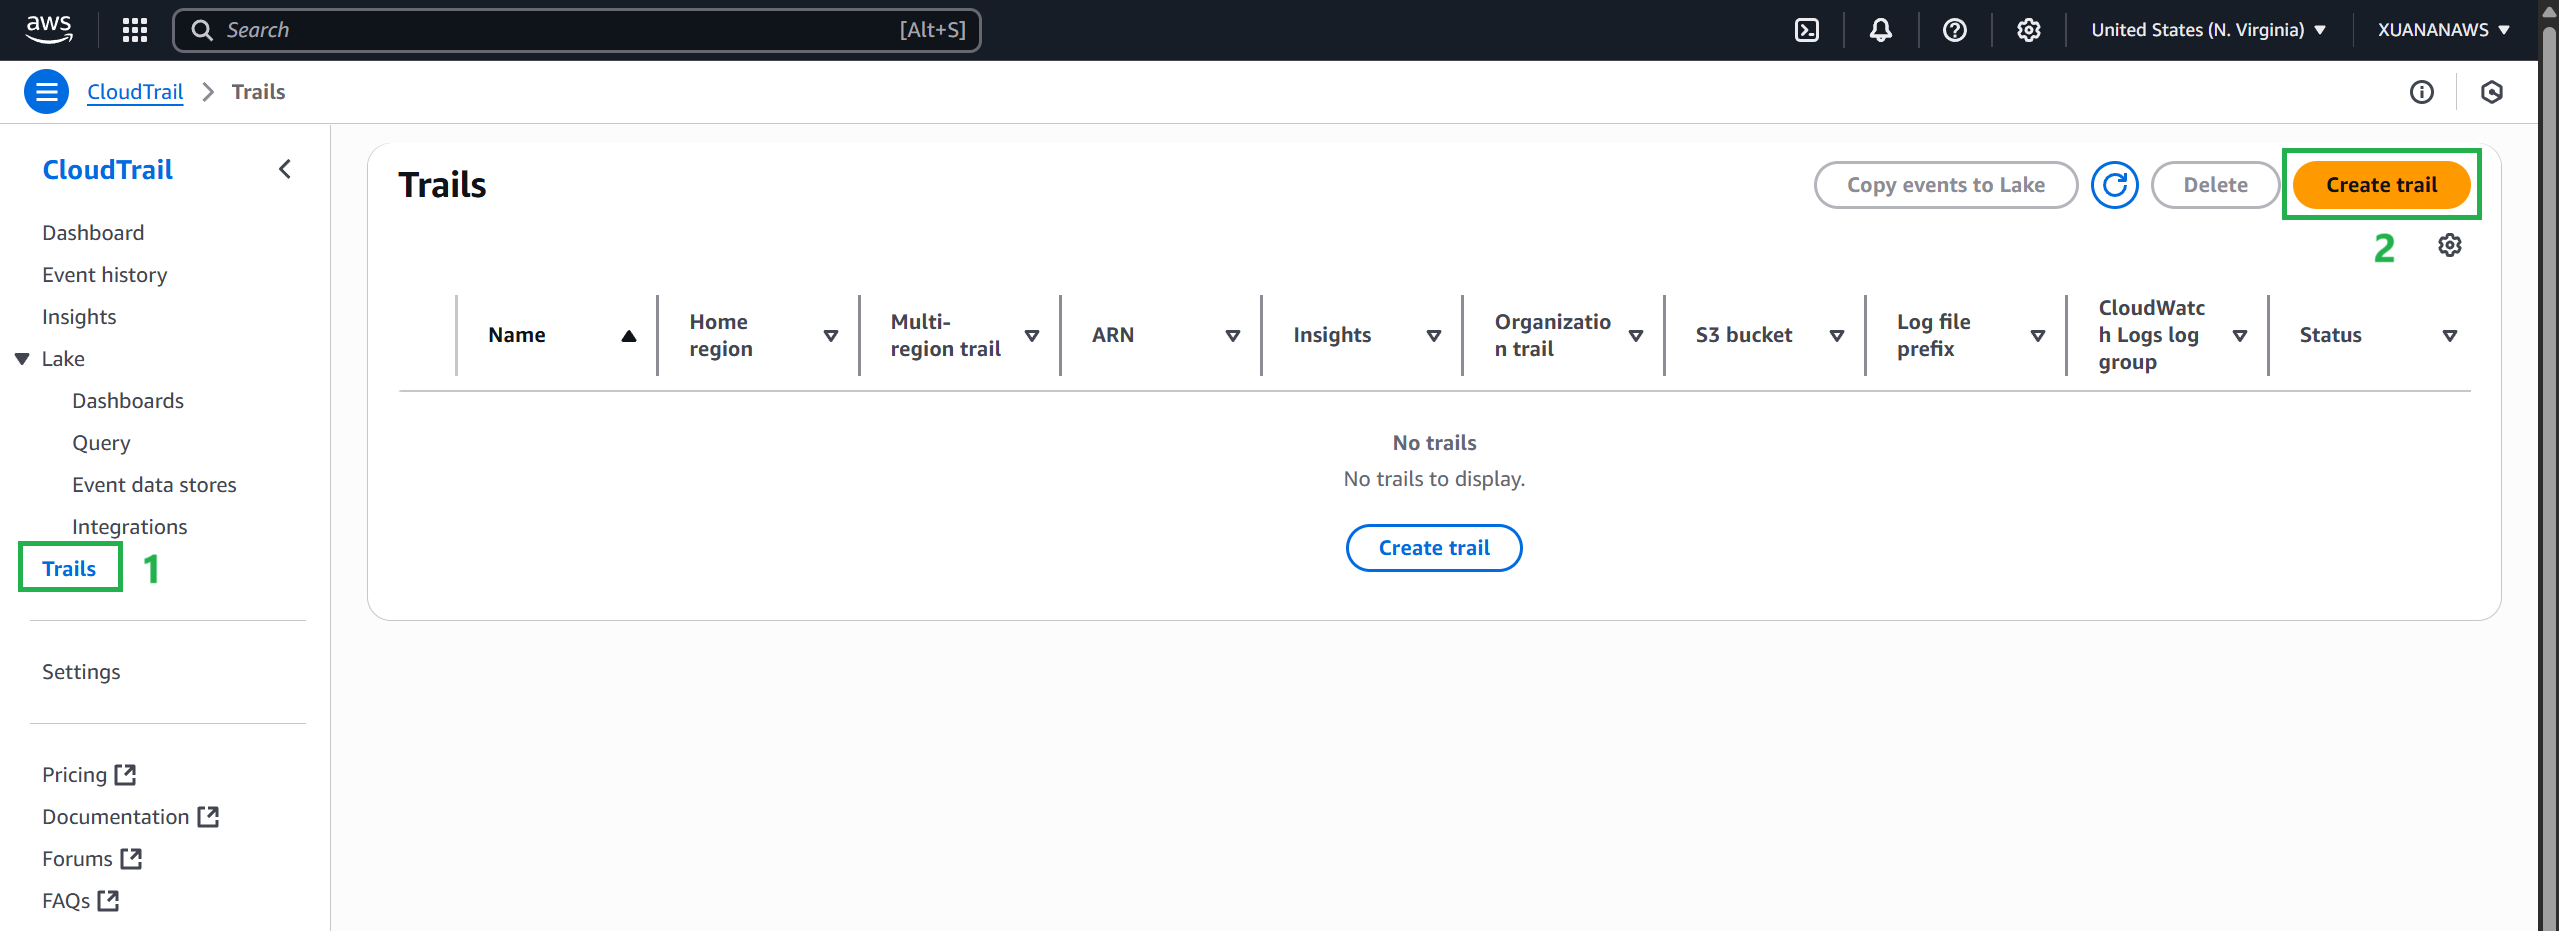
Enter the information according to the following instructions:
- The trial name is
OrganizationTrail - Select Use existing S3 bucket and enter the bucket name of the bucket created in step 3
- In AWS KMS alias, add the name of the KMS alias created in step 2.
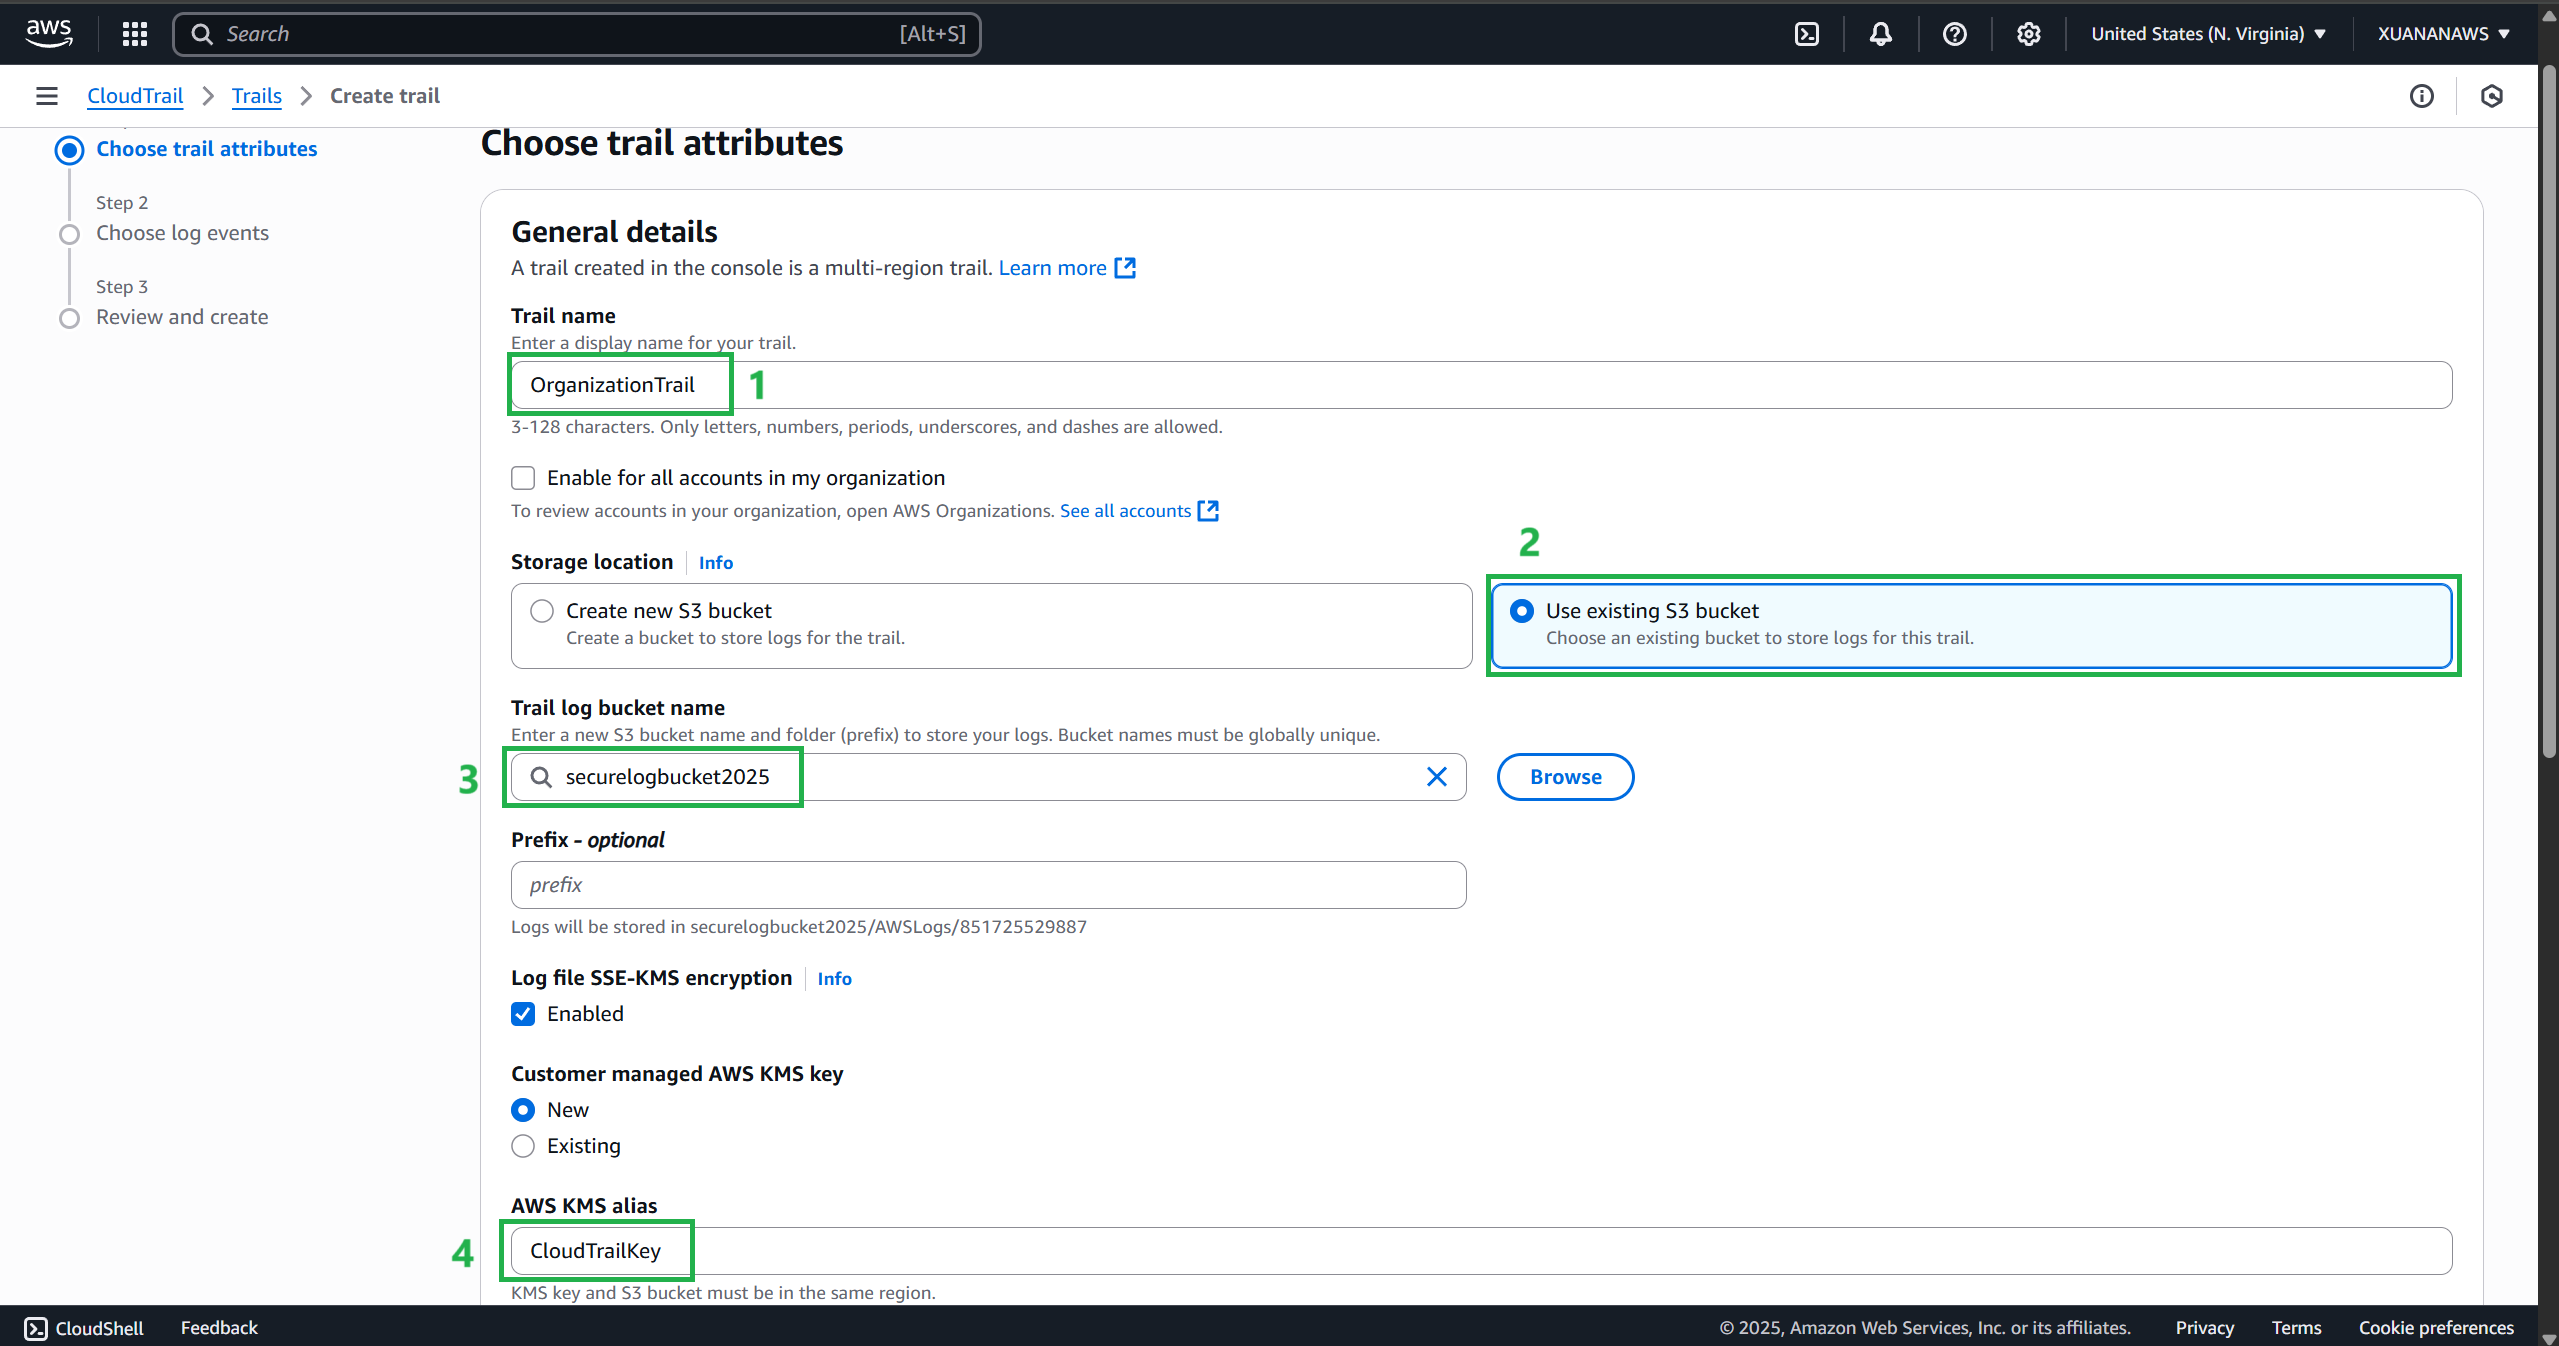
- Trail creation successful